
Before configuring a 3D Preview for a product, you need to assign an Imprint Method and Decoration Area.
Steps to Configure a 3D Preview for a T-Shirt
1. Open Impact Designer Admin.
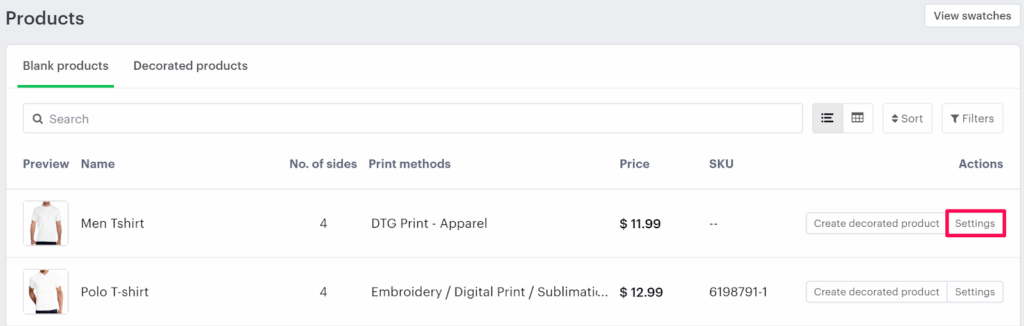
2. Click “Products” in the navigation panel.

3. The Products page appears. Click “Settings”, which is below the Actions panel.
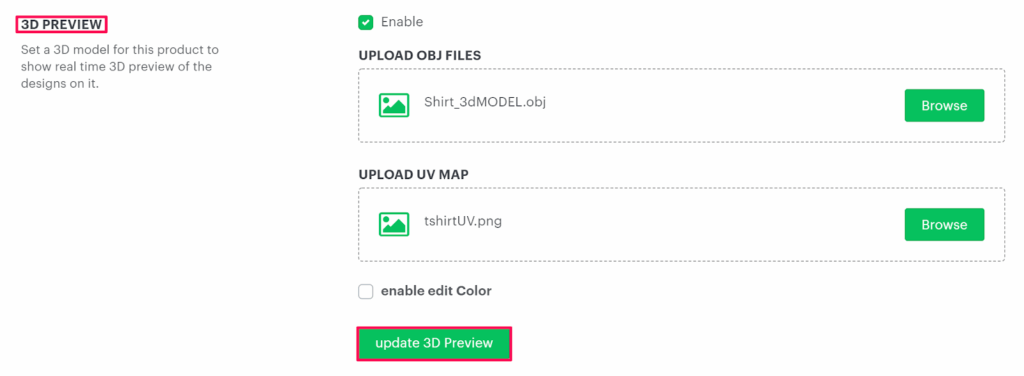
4. The Decoration Area Setting page will appear. Scroll down to find 3D Preview and select the checkbox.
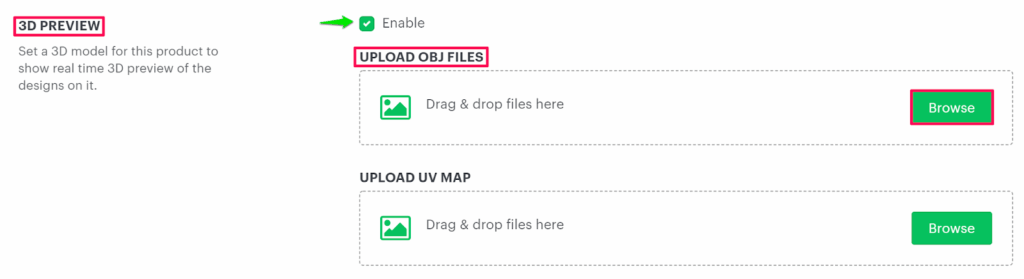
► Supported format of OBJ file: .OBJ
► OBJ is a geometry definition file format that stores 3D model data and is used to preview your product in 3D.
5. Now, we will be uploading an OBJ file for the 3D model. Click the “Browse” button to upload the OBJ file. The file that is uploaded can be viewed in the 3D Product Preview section.
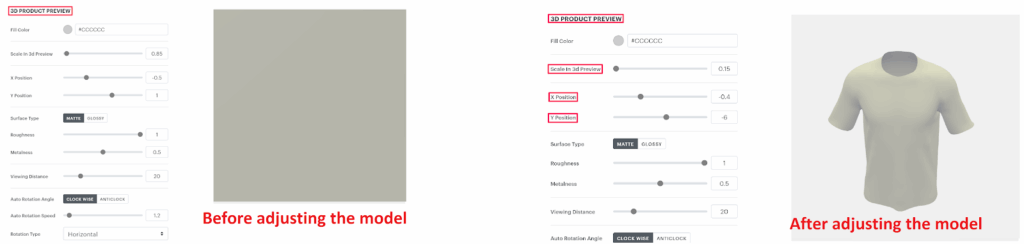
6. Under 3D PRODUCT PREVIEW, adjust the 3D model by setting up the values for Scale in 3D preview, X Position and Y position. You can adjust it by dragging the toggle button.
► You need to adjust the 3D model to get a better view of 3D in the Designer Tool.
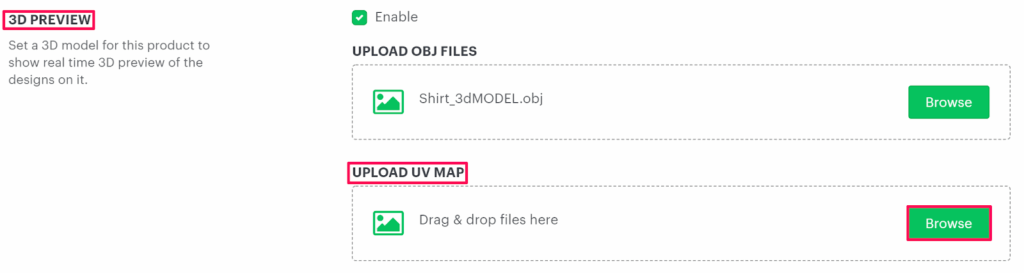
► UV mapping is the process of generating a 2D representation of a 3D object. The UV map is exported from the Blender application (software).
► The supported format of UV Map is PNG, and the dimension of the UV map should be 1024 px x 1024 px
7. In this step, we will be uploading the UV Map for the 3D model. Scroll up to find the 3D Preview. In the Uplaod UV Map section, click “Browse” to upload the UV map for the 3D model.
► You need to create the UV Map based on the number of sides in the 3D model. After exporting it from Blender, you will get the product side image. The different parts in the UV Map should be of the same dimensions as per the imprint area setup on the product.
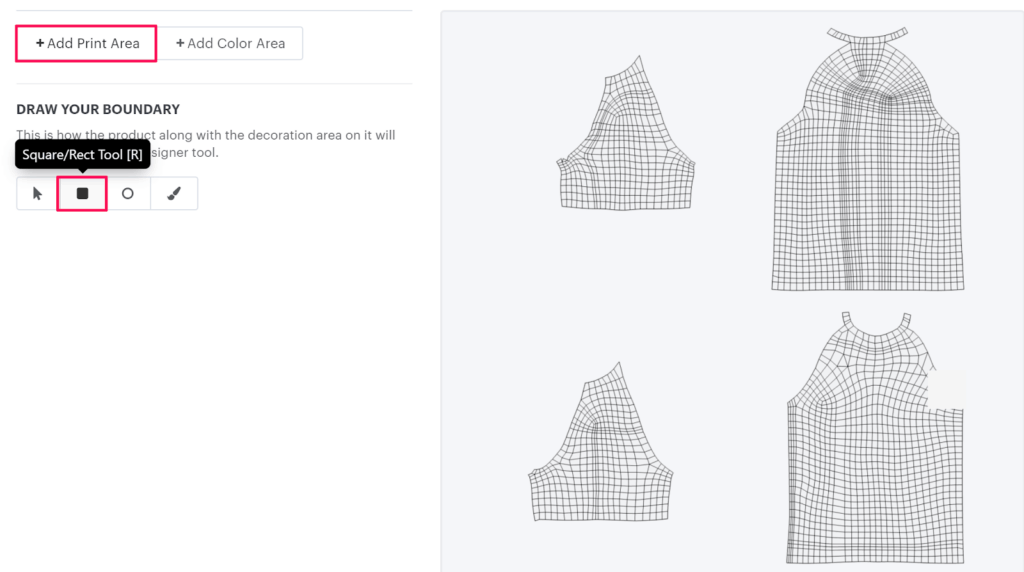
8. Scroll down to find the UV map that you have uploaded. Now, we will be configuring the print boundary by clicking the Add Print Area option. A new section will open named as Draw your Boundary.
► To get the customized design on the exact position of the 3D model, you need to configure the print area for each side of the product in UV Map.
9. Select the Square/Rect Tool to draw a print boundary across the sides of the product in the UV map.
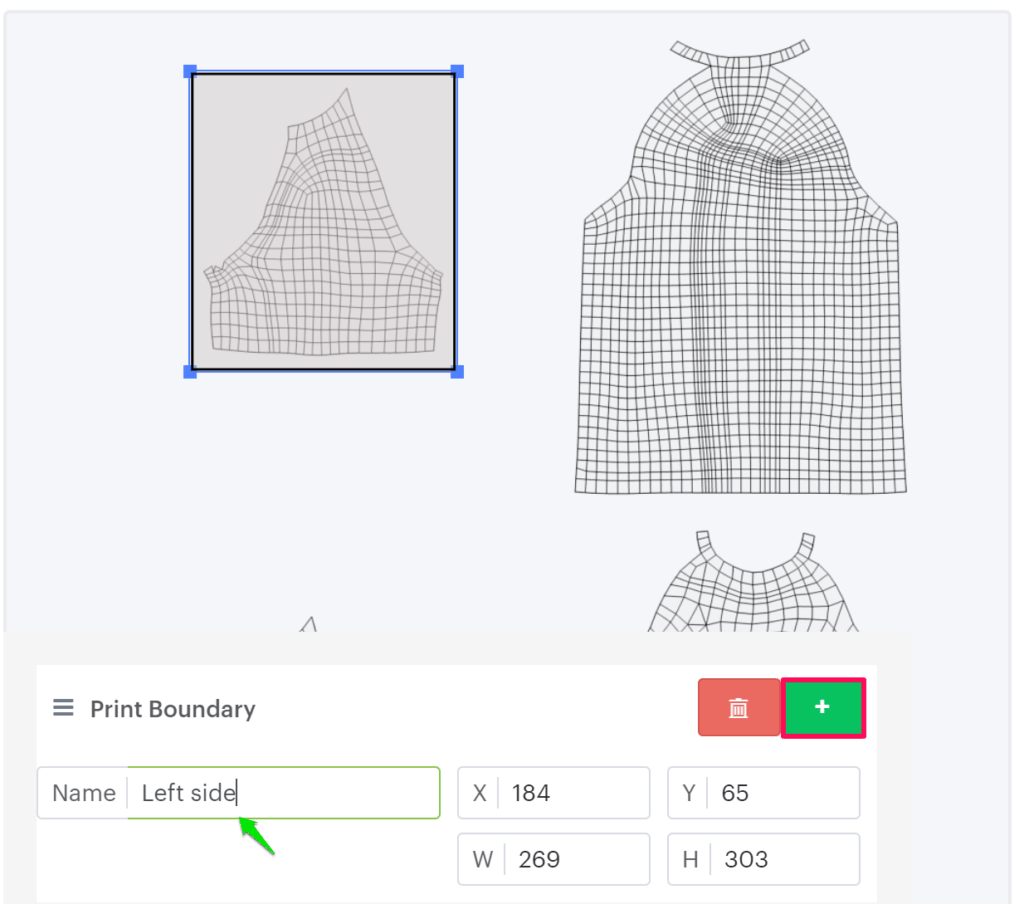
10. Move to the right and draw a print boundary across the side of the product in the UV map. Once you finish drawing, a pop-up appears below. Here, you need to set the name of the print boundary, and the values for X, Y, W, and H will be populated based on the dimensions of the print area, which is drawn over the sides of the product in the UV map.
11. Visit all the sides in the UV map and repeat the above step.
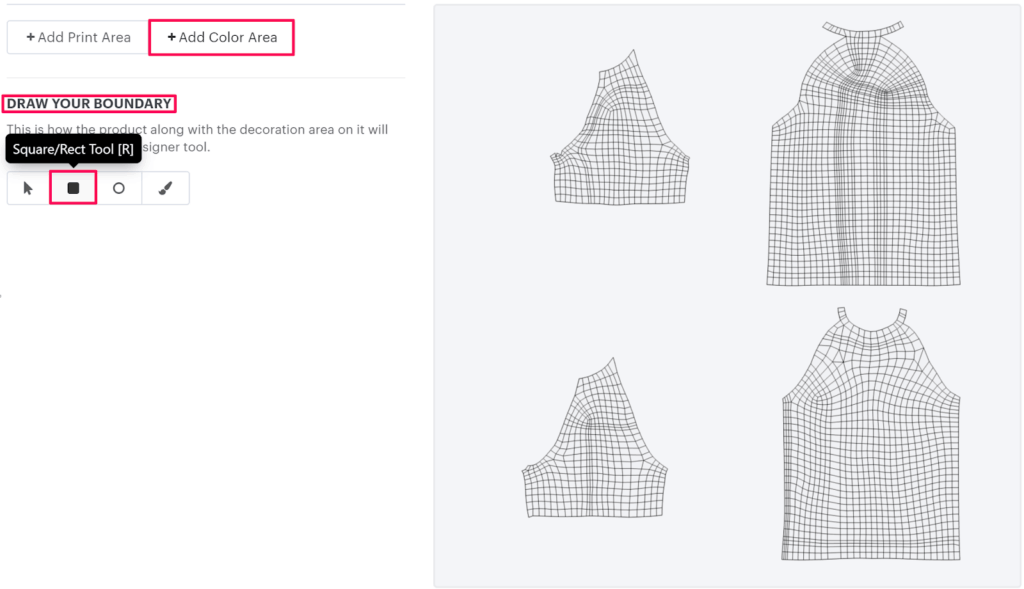
12. In this step, configure the color boundary by clicking the Add Color Area option. A new section will open named as Draw your Boundary.
► Configuring the color area to the specific part will give the color layout to the 3D model to that particular section in the 3D model
13. Select the tool Square/Rect Tool to draw a color boundary for the sides of the product in the UV Map
14. Move to the right and draw the color boundary across the side of the product on the UV map. Once you finish drawing, a pop-up appears below. Here, you need to set the name of the color boundary and select the color from the color picker. The value for X, Y, W, and H will be populated based on the dimensions of the area drawn over the side in the UV map.

► You can set the color print area for those parts of the 3D model for which you want to give a different color layout to the 3D model. It is not mandatory to give a color layout to each part of the 3D model.
15. After configuring the color area for the side of the product in the UV map, you need to update it to get reflected in the 3D model. Scroll up to find Update 3D Preview and click it.
16. After updating it, you can view the specific part (side) of the 3D model colored.
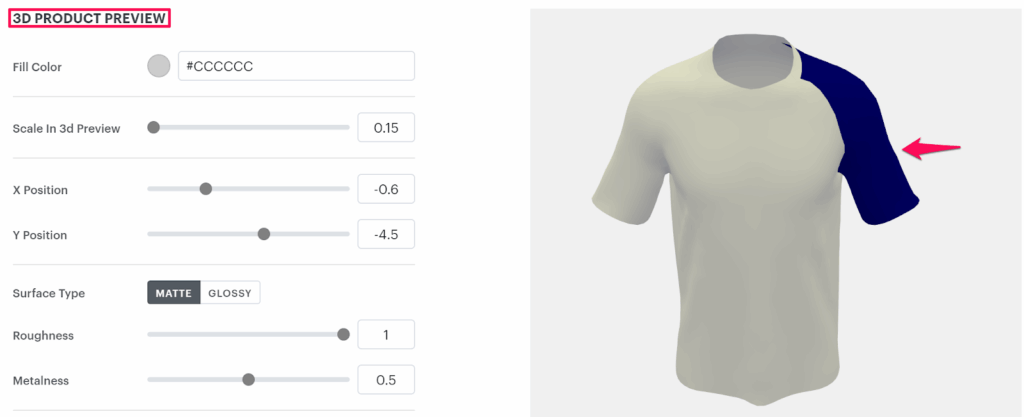
17. We also have a few options for the 3D Preview, where you can configure the 3D model to look more realistic. Scroll down to find 3D PRODUCT PREVIEW.
Below are a few settings:
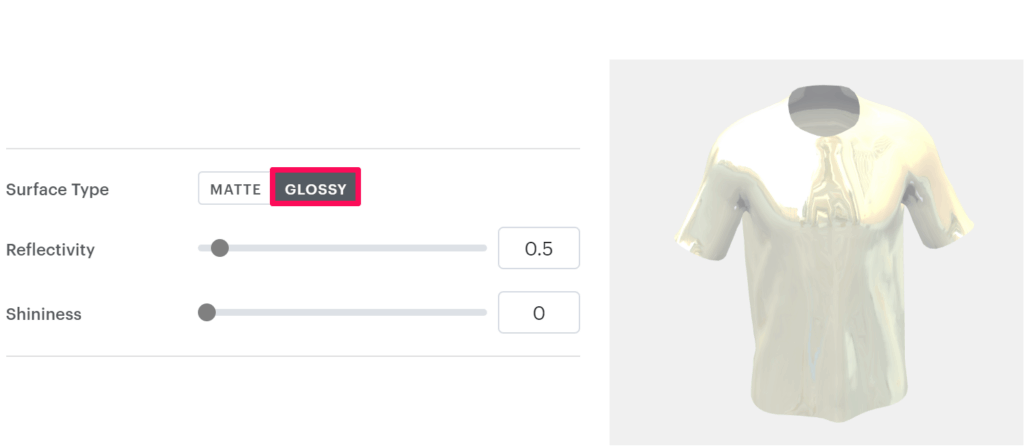
Surface Type – This option will make the model look shinier or brighter. There are two types of effects:
- Matte: Enabling this option will make your 3D model bright and non-shiny. You can also configure the Roughness and Metalness for it.

- Glossy: This option will give the 3D model a shiny effect. You can also configure Reflectivity and Shininess for it.
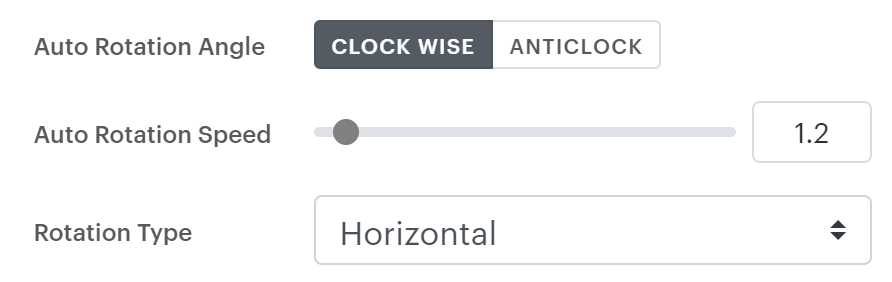
Auto Rotation Angle – Here you can configure the rotation of the 3D model in Clockwise or Anti-Clockwise. You can also set the rotation speed and rotation type.
18. After all the configurations are done, click “Save decoration area.”
Download Sample 3D Files for T-shirt
• Product Image – Download Link
• Product Imprint area – Download Link
• OBJ File – Download Link
• UV Map – Download Link
You have successfully configured a 3D Preview for the T-shirt product!