
Steps to Configure Shapes for Stickers
1. Open Impact Designer Admin.
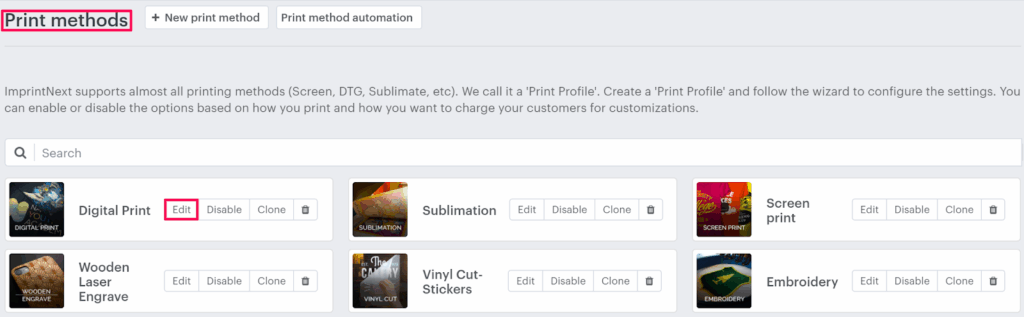
2. Click “Print Method” from the navigation panel.

3. On the Print methods page, select any print method and click “Edit.“
4. A new page will open. Scroll down to find Sticker settings and toggle the button of Enable sticker option.

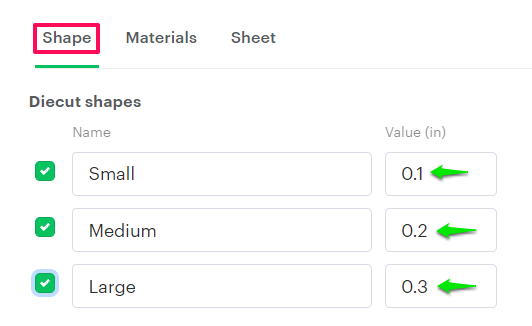
5. The Shape tab will appear below. Here we have provided two different sticker shapes:
- Die-cut shapes – The process of cutting printed stickers into the desired shape is called die-cutting. Enabling this option will show the red line outside the design in the designer studio, and the stickers can be cut off from this line. The cutline will be drawn based on the value of Small, Medium, and Large.
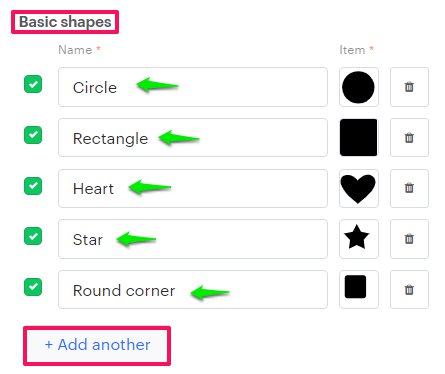
- Basic shapes – In this section, we have provided a few sticker shapes. Your customer can use these shapes for the Sticker. Also, other shapes can be added by clicking “Add another”
6. Click “Save.”
You have now successfully configured the sticker shapes!