
Steps to Configure Roll Quantity for Stickers
1. Open Impact Designer Admin.
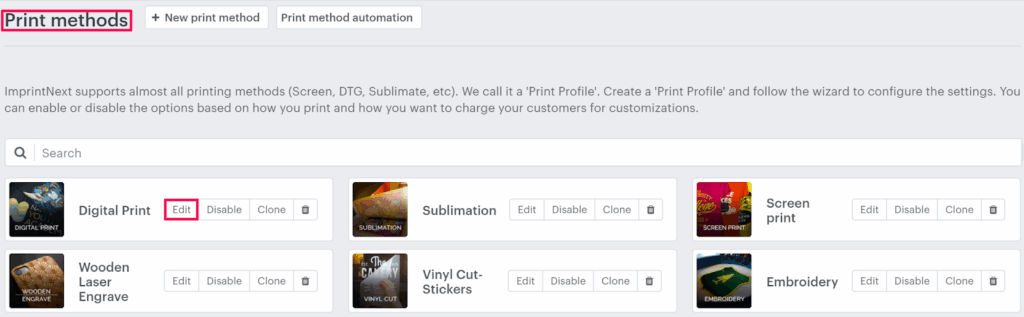
2. Click “Print Method” from the navigation panel.

3. On the Print methods page, select any print method and click “Edit.”
4. The print method setting page will appear. Scroll down to find Sticker settings and toggle the button of Enable sticker option.

5. Then enable the checkbox of the On Roll sticker print option and select the Roll tab.
6. Enable the checkbox for the type of roll which you would like to enable for Stickers from the Outside Wound and Inside Wound. Also, set the minimum quantity, maximum quantity, and the step.
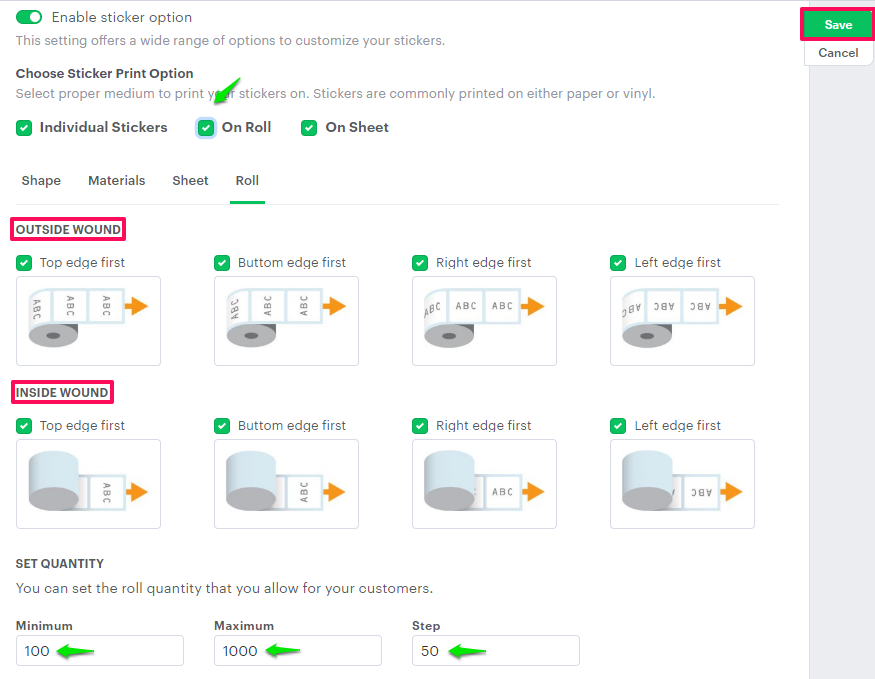
► Set the minimum quantity of product; based on this, the designer tool will load. The incremental step quantity is where steps can be defined and when the customer increases the quantity of product it will be increased based on the number of steps from the minimum quantity.
6. Click “Save”
You have now successfully configured the roll quantity for stickers!