
To send an email to the customer, you need to configure SMTP settings from the Global Settings of Impact Designer Admin.
Steps to Create a Quotation
1. Open Impact Designer Admin.
2. Click “Production Hub” on the navigation panel.

3. Select “Quotation” and click “Create Quotation.”

4. A new page will appear. Under Customer Details, click the dropdown to select a customer. The list of customers already added will appear here.
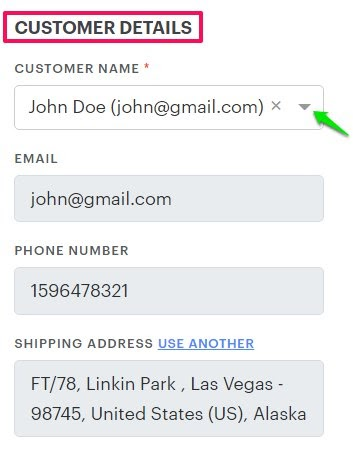
► You can also add a new customer by clicking “Add Customer”. Click here for more info.
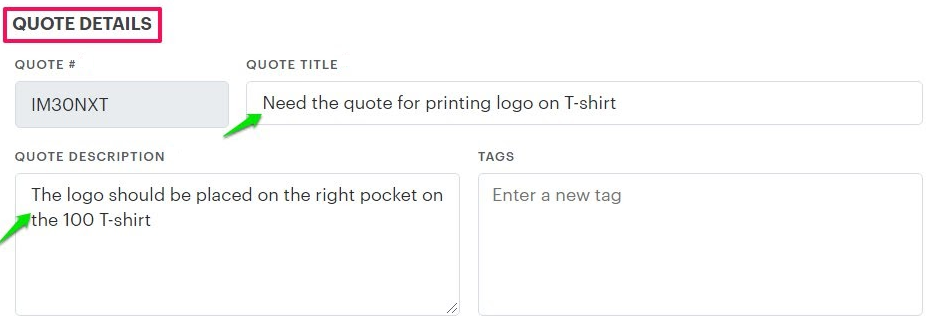
5. Under Quote Details, fill out the form fields such as Quote Title, Quote Description, etc.
6. Scroll down and click the dropdown for Add from Product (Name, SKU, Category).
You can create a quotation in two ways:
- Add from Product (Name, SKU, Category)
Selecting this option allows you to create a quote for products already added to your eCommerce store. - Add from Previous Quotes
You can reuse a quote that was created earlier. Search for the existing quote using its Quotation ID.

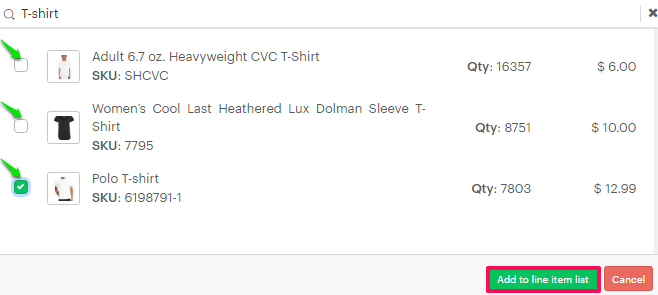
7. Select Add from Product (Name, SKU, Category). Move to the right and click inside the “Search Product” field. A list of products will appear below.
8. Select a product for which the quote will be created and click “Add to Line Item List.”
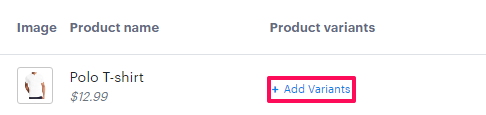
9. A product will be added to the list. Under the Product Variants column, click “Add Variants.”
Save Variants:
- For Impact Designer 8.0.0 and later
From the dropdowns for Color and Size, select the desired options. You can edit the variation price in the Item Price column. Set the quantity in the Quantity column and click “Save Variants.”

- For Impact Designer 7.4.0 version
From the dropdowns for Color and Size, select the desired options. Set the quantity in the Quantity column and click “Save Variants.”

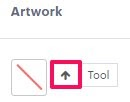
10. From the Artwork column, you can add the design to the product in two ways:
a) Upload the design without using Designer Studio:
- Click the Arrow icon.
- A pop-up will open. In the Preview box, upload the product with artwork, and in the Design box, upload the artwork file.
- Assign a Print Method and set the Width and Height of the design. Click “Save.”

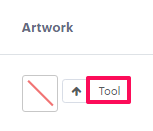
b) Upload the design using Designer Studio:
- Click the Tool option, which redirects you to the Designer Studio.
- Add your designs and click “Save Design.”
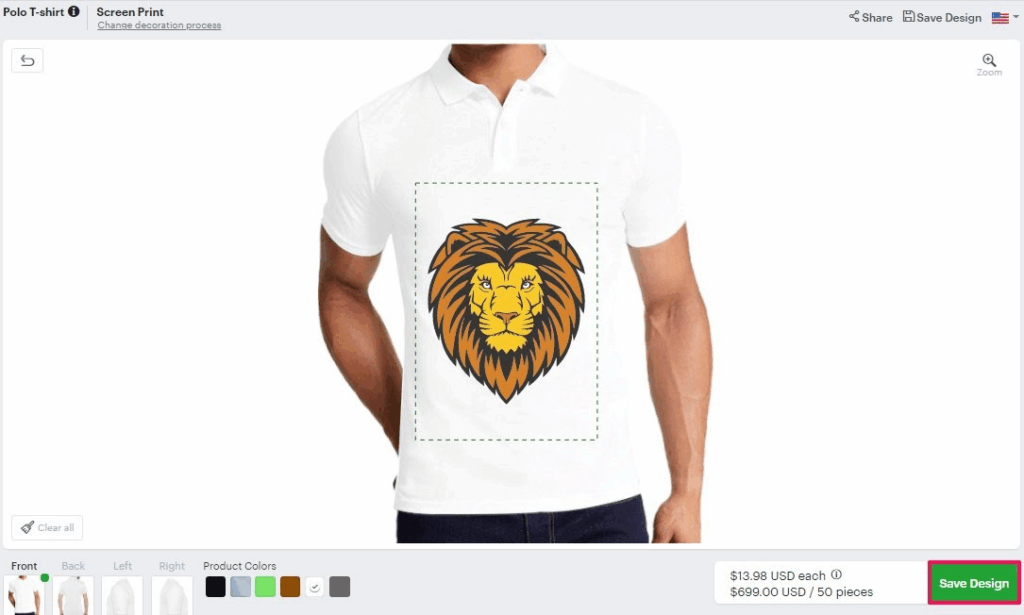
11. Return to Impact Designer Admin. The design you added will now appear.
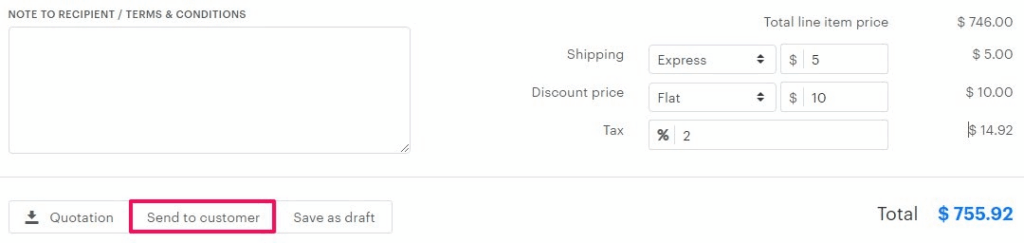
12. You can also set Shipping, Discount Price, and Tax for the quote.
13. Click “Send to Customer.”
- Download Quotation – Once created, you can download the quotation in PDF format.
- Send to Customer – You can send the quotation to the customer’s registered email address.
- Save as Draft – If some required information is missing, you can save the quotation as a draft and complete it later before sending it to the customer.
Your quotation has been created successfully!