
Steps to Manage the Production Status Process
1. Open Impact Designer Admin.
2. Select ”Production hub” on the navigation panel.

3. Move to the right. Click on the Production hub settings drop-down and select “Production settings.”

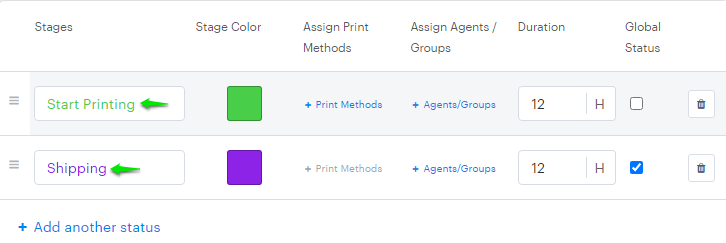
4. The production settings page will appear. Scroll down to the Status section. Here, we have provided a predefined set of different stages of production. You can update the status text and background, also.
5. You can also assign them to appropriate print methods. Click on the “+Print Methods”. A pop-up will appear with all the print methods. Select the print methods you want to assign to that particular production stage and then click “Save.”

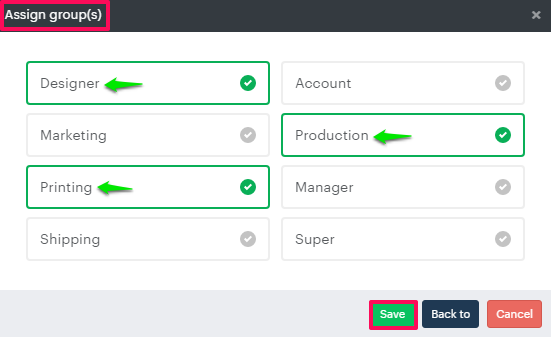
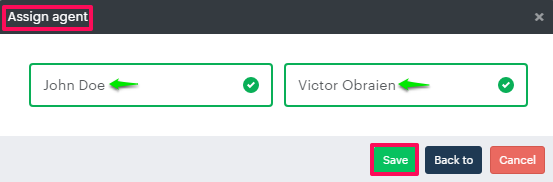
6. You can also assign agents or groups. Click on the “+Agents/Groups”. A pop-up will appear. You can assign in two ways:
- Assign by groups – Click on it will display all the groups created in the user’s section. Select the groups and click Save.
- Assign by agents – Click on it will display all the users you have created. Select the users and click Save.
7. You can set the approximate completion duration in hours.

8. To make the stage a Global Status, click on the checkbox to enable it.

9. After configuring the stages, scroll down and click “Save.”