
Using the Wilcom add-on, you can generate a more realistic embroidery preview along with the respective digitization files. You can set the maximum thread colors supported, and pricing can be estimated based on the embroidery thread count.
Steps to Integrate Wilcom in Impact Designer
Step 1: Open Impact Designer Admin.
Step 2: Click “Global Settings” from the navigation panel.
Step 3: Move to the right and select Integration.

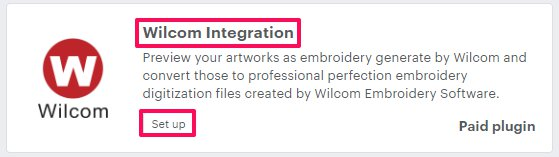
Step 4: A new page will appear. Scroll down to find Wilcom Integration and click the “Set Up” button.
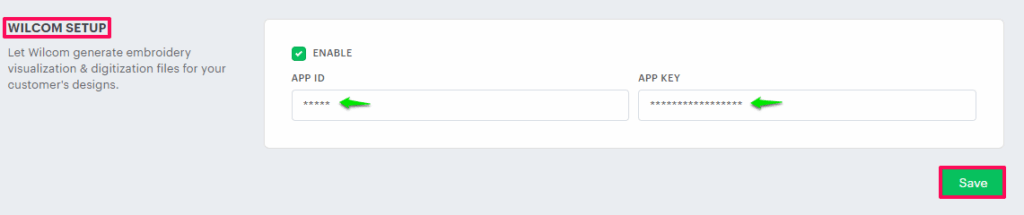
Step 5: The Wilcom Setup page will open. Enable the checkbox, enter your App ID and App Key, and click the “Save” button.
► You can get the App ID and App Key from your Wilcom API Developer Portal account.
► Once Wilcom is set up, you need to enable Embroidery Preview from the Print Method section. Click here to configure it.
Now the Wilcom Plugin is installed successfully!