
Steps to Enable the Edit Color Option
1. Open Impact Designer Admin.
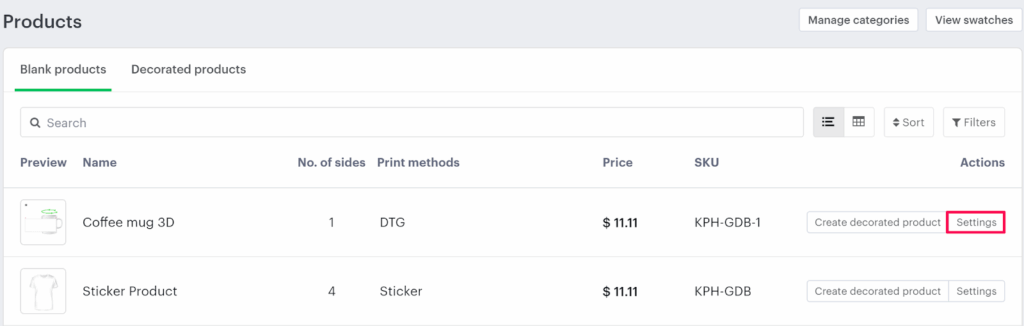
2. Click “Products” in the navigation panel.

3. A Products page appears. Click “Settings”, which is below the Actions panel.
4. The decoration area setting page will appear. Scroll down to find 3D PREVIEW and select the checkbox.
► Before enabling edit color, you need to upload the OBJ File, UV Map, and set the print boundary. You can also follow the link for its configuration.
5. Under 3D PREVIEW, select the checkbox to enable edit color.
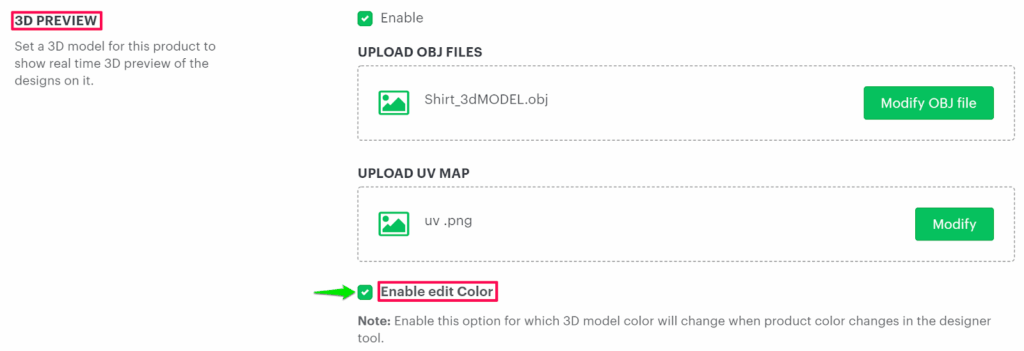
6. Click “Save decoration area.”
► Enabling edit color for the 3D model will allow your customer to change the color of it from the available colors for the product.
You have successfully enabled edit color!