
Steps to Upload Custom Shape Decoration Area with Bleed Mark
1. Open Impact Designer Admin.
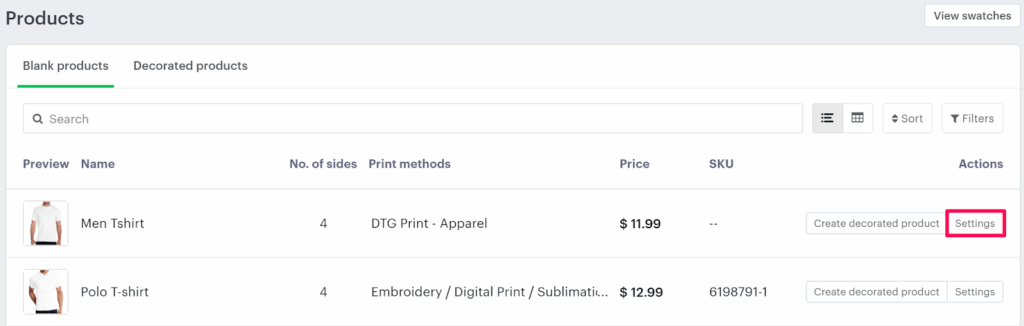
2. Click “Products” in the navigation panel.

3. On the Products page, click “Settings” under the Actions column.
4. In the Imprint Area section, select Set Decoration Areas and click “Manage Decoration Areas.”

5. In the Decoration Area tab, click “New Decoration Area.”

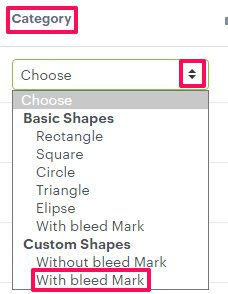
6. Under Category, open the dropdown and select “With Bleed Mark”.
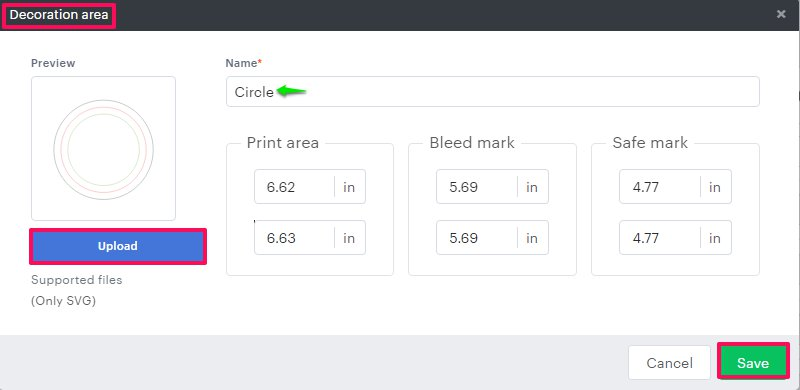
7. A Decoration Area pop-up will appear.
• Click “Upload” and select the SVG file (with bleed mark) from your local system.
• The dimensions for the print area, bleed mark, and safe zone will automatically populate based on the SVG file.
8. Click “Save” to apply your changes.
You’ve successfully added a custom shape decoration area with a bleed mark!