
To set the bleed mark:
► The bleed mark will be visible to your customers on the product preview. The print files will also be generated based on the crop mark and safe zone you define.
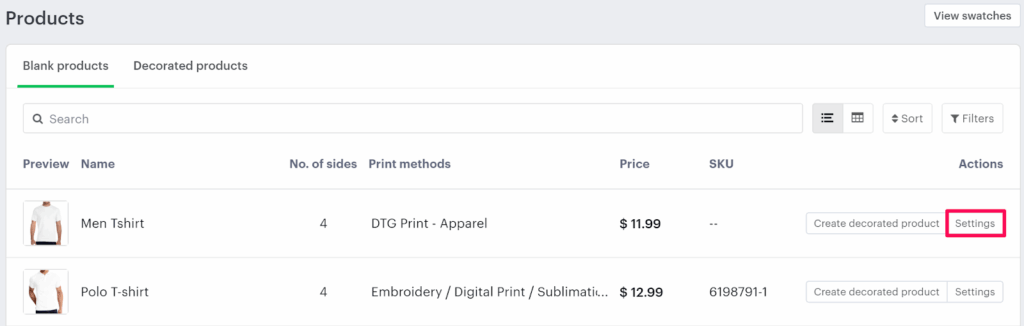
1. Open Impact Designer Admin
2. Click “Products” in the navigation panel.

3. On the Products page, click “Settings” under the Actions column.
4. The Decoration Area Settings page will appear.
• Scroll down to find the Bleed Mark section.
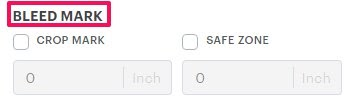
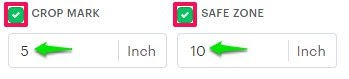
5. Enable Crop Mark or Safe Zone and enter your desired value.
6. Click “Save Decoration Area” to apply your changes.
You’ve successfully set a bleed mark for your product!
► Before setting the bleed mark, make sure to configure the imprint area on each side of the product and assign the imprint method.