
A configurator enables users to modify various parts of a product. In an image-based configurator, the admin uploads separate product images for each part.
For example, for a shirt, the admin can upload individual images for the collar, sleeves, and pockets, each showing different color options.
Steps to Create an Image-Based Configurator
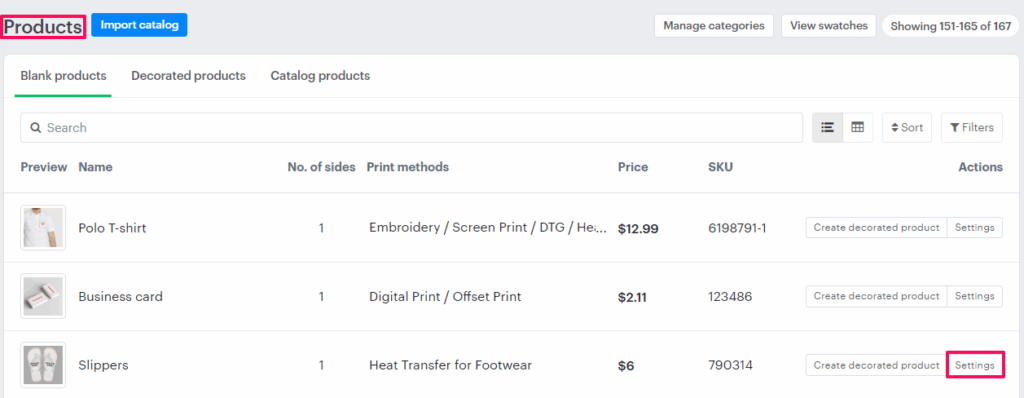
1. Open Impact Designer Admin and click “Products” from the navigation panel.

2. The product listing page will appear. Click “Settings”, located below the Actions panel.
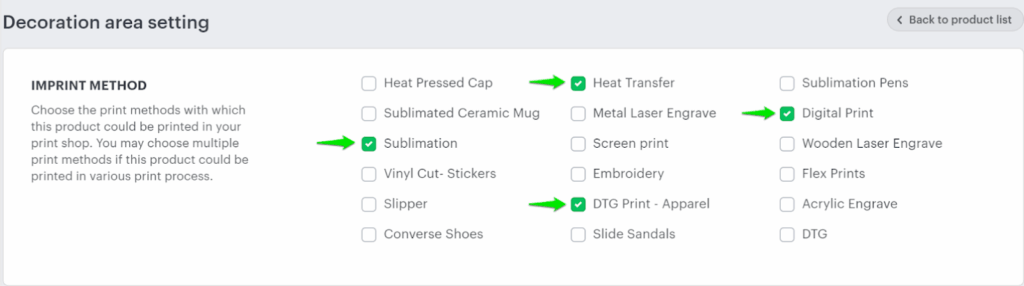
3. The Decoration Area Settings page will open. In the Imprint Method section, assign the desired print method.
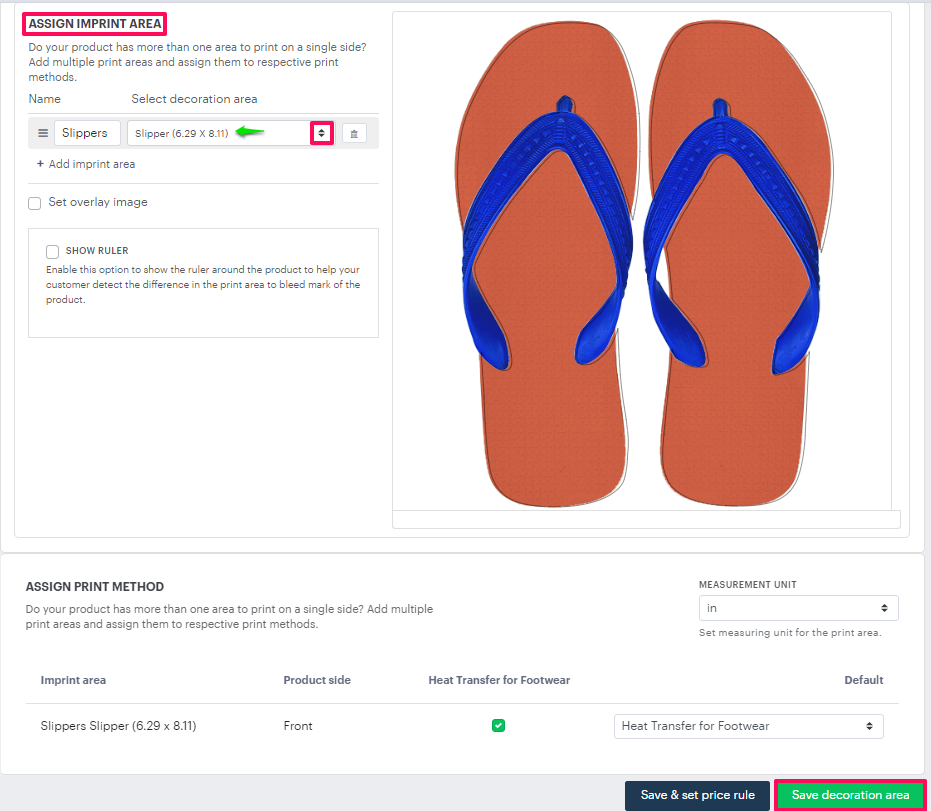
4. Scroll down to find Assign Imprint Area. Enter the name of the decoration area and select your desired decoration area from the dropdown.
► Set the decoration area on the current product image, as this image will later be replaced by the ones uploaded in the configurator.
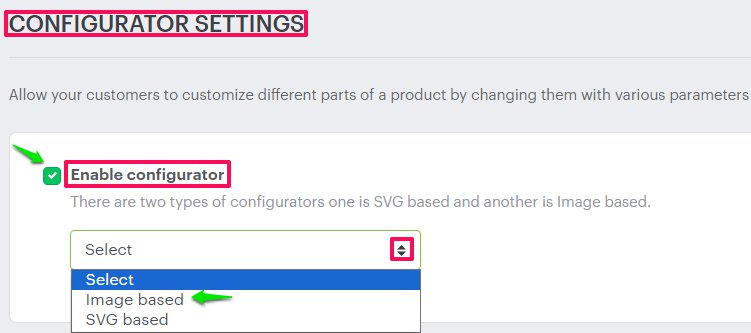
5. Move to the right and click the “Configurator” tab.

6. The Configurator Settings page will appear. Select the checkbox “Enable Configurator”, then open the dropdown and choose “Image based”
7. Click “Add Another Section”. Enter a name for the section and click “Save”

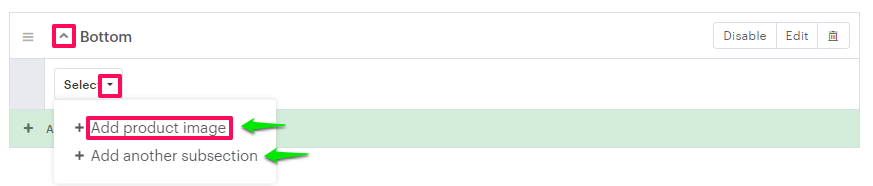
8. Click the “collapse” icon beside the section name. In the Select dropdown, you’ll see two options:
- Add Product Image
- Add Another Subsection
ADD PRODUCT IMAGE
Use this option to upload different color images for each section of the product.
Follow the steps below:
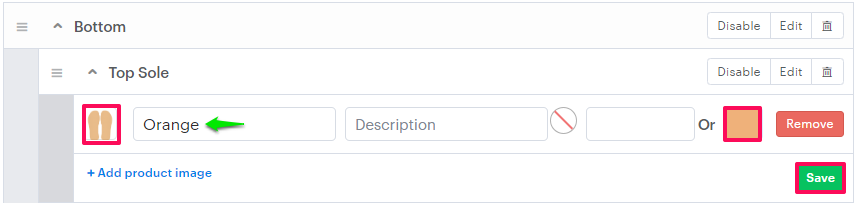
1. Click “Add Design Image”.

2. Select the upload icon to add a color variant of the product image.
3. Enter a name, assign a color or image, and click “Save”.
4. Repeat the process to add more color options for the selected section.

► Product images should have consistent dimensions, such as 600×600 px, 800×800 px, or 1000×1000 px.
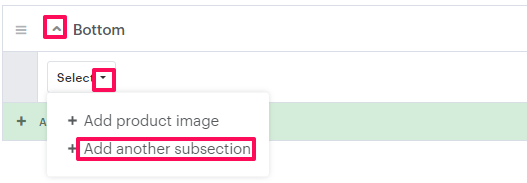
ADD ANOTHER SUBSECTION
Use this option to add different sections or parts of the product.
Follow the steps below:
1. Click “Add Another Subsection”.
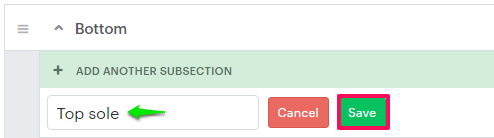
2. Enter a name for the subsection and click “Save”
3. Click the collapse icon of the newly created subsection and select “Add Product Image”
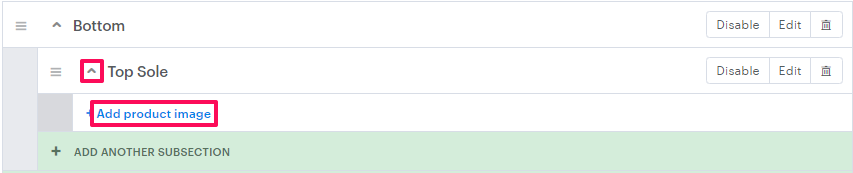
4. Upload the section image, assign a name and color, then click “Save”
9. Repeat this process to upload all product parts and color variations.
You have successfully configured the image-based configurator!