
An overlay image can be set to simulate material over design elements.
Steps to Configure an Overlay Image
1. Open Impact Designer Admin.
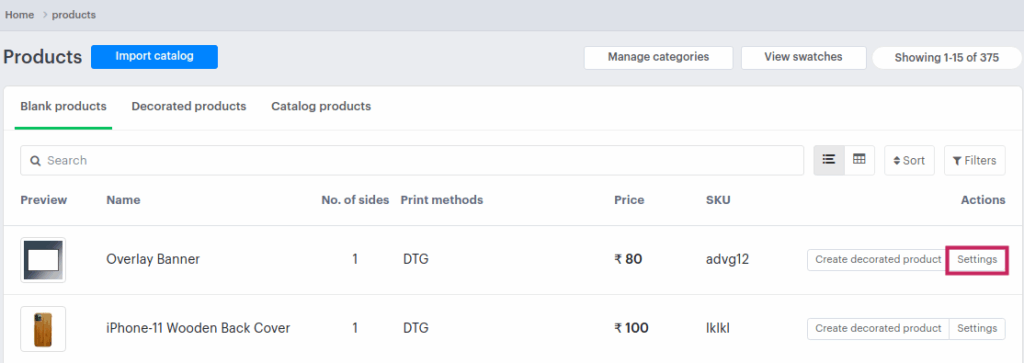
2. Click “Products” in the navigation panel.

3. On the Products page, click “Settings” under the Actions column.
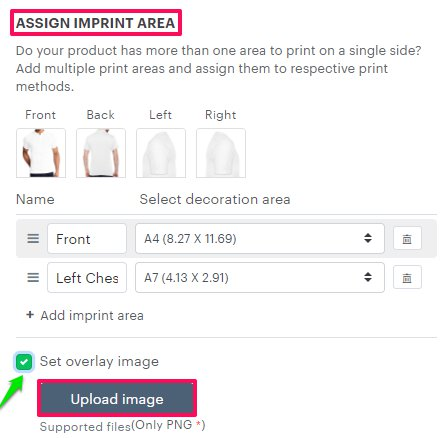
4. Scroll down to find the Assign Imprint Area.
• Enable the checkbox labeled Set Overlay Image.
5. Click “Upload Image” and select the overlay image file from your computer.
6. Scroll down and click “Save Decoration Area” to apply your changes.
You’ve successfully configured an overlay image for your product!