
To assign an imprint area to a product:
1. Log in to Impact Designer Admin.
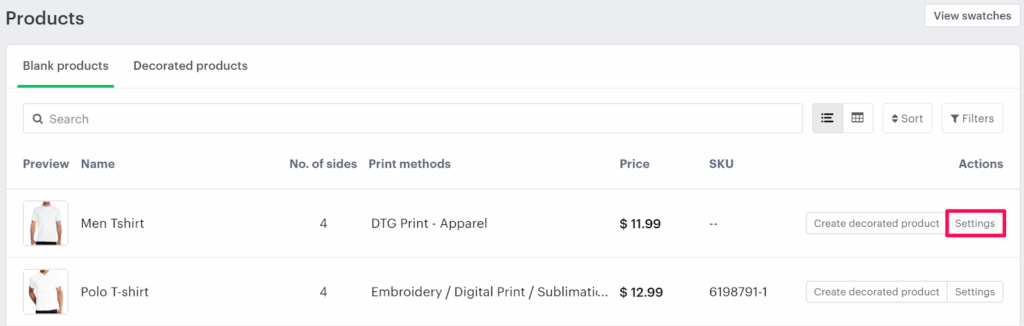
2. From the left navigation panel, click “Products”.

3. On the Products page, click “Settings” (under the Actions panel for the product you want to edit).
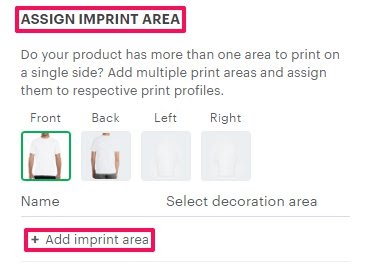
4. The Decoration Area Settings page will open.
• Scroll down to Assign Imprint Area.
• Hover over “Add Imprint Area” and click it.
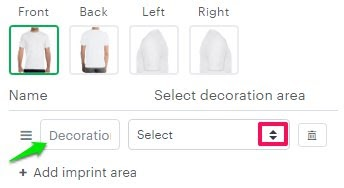
5. Set the decoration area name, then open the dropdown under Select Decoration Area.
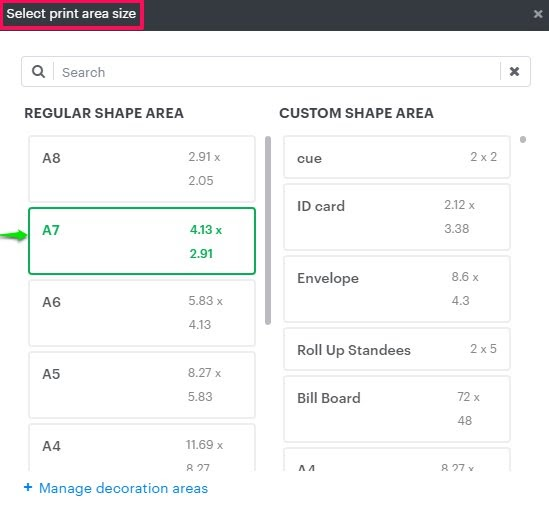
6. A pop-up titled Select Print Area Size will appear.
• Choose the desired print area size, either from Regular or Custom Area Shape.
• Adjust the imprint area on the product by dragging it to your preferred position.
7. To add multiple decoration areas on the same side, click “Add Imprint Area” again and repeat steps 5-6.
• To assign imprint areas to other sides of the product, switch sides, and follow the same steps.
8. Scroll down and click “Save Decoration Area” to save your changes.
You’ve successfully assigned an imprint area to your product!
► After configuring imprint areas, make sure to assign an imprint method to each imprint area of the product.