
Steps to Assign a Custom Image to a Product
1. Log in to Impact Designer Admin
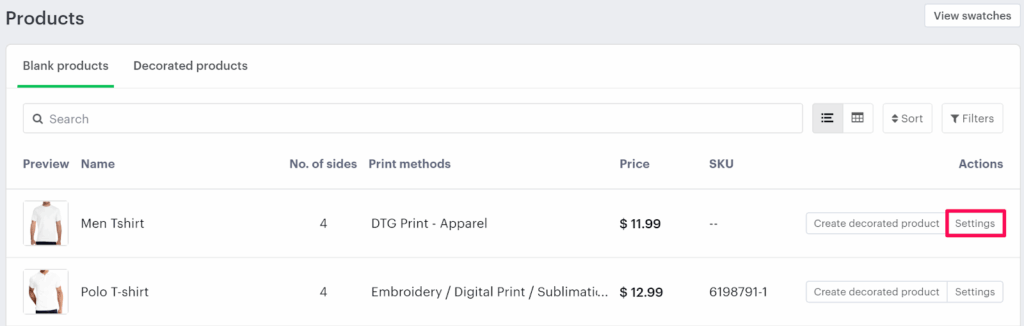
2. In the left navigation panel, click “Products”.

3. On the Products page, click “Settings” (under the Actions panel for the product you want to edit).
4. The Decoration Area Settings page will open.
• In the Imprint Image section, under Define my own views, enable Custom Product Image.
• Click “Change”.

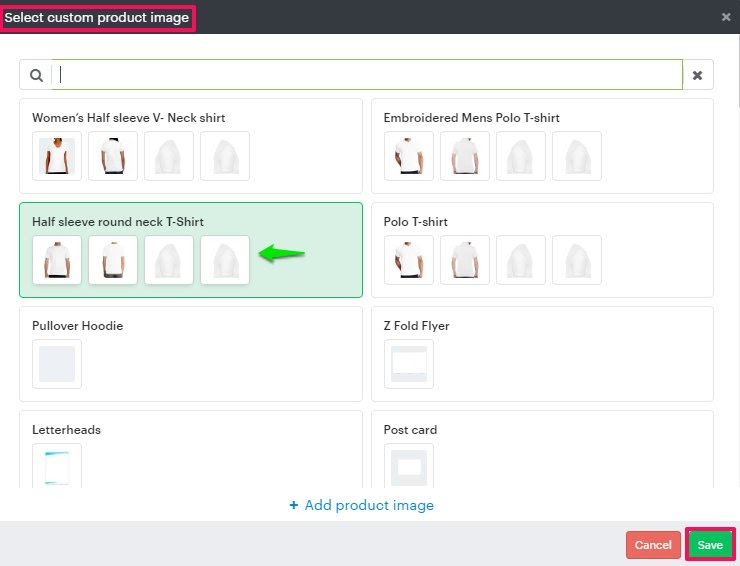
5. A pop-up titled Select Custom Product Image will appear.
• Choose the custom image you want to assign to the product.
6. Click “Save”.
You have now assigned a custom product image to your product!
► Before assigning a custom product image, you must first add an imprint image for the product.