
Before You Start
► To learn how to create SVG files for custom shapes, click here
► The supported format is .SVG
Follow these steps to add custom shapes for the decoration area:
1. Log in to Impact Designer Admin
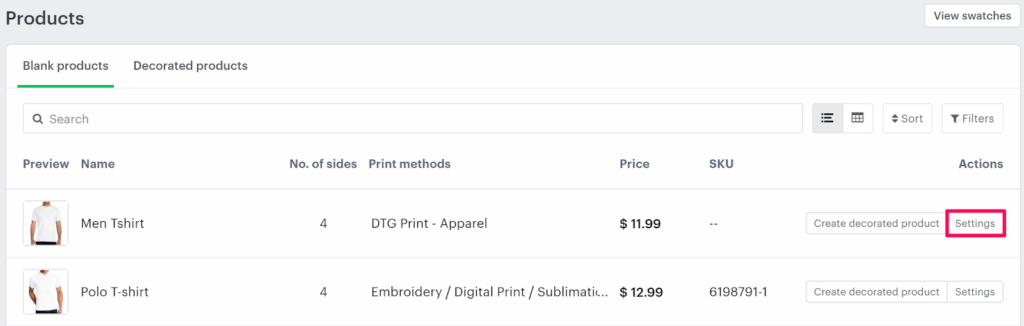
2. From the left navigation panel, click “Products”

3. On the Products page, click “Settings” (under the Actions panel for the product you want to edit).
4. Scroll down to the Imprint Area section.
• Select Set Decoration Area and click ‘Manage Decoration Areas”

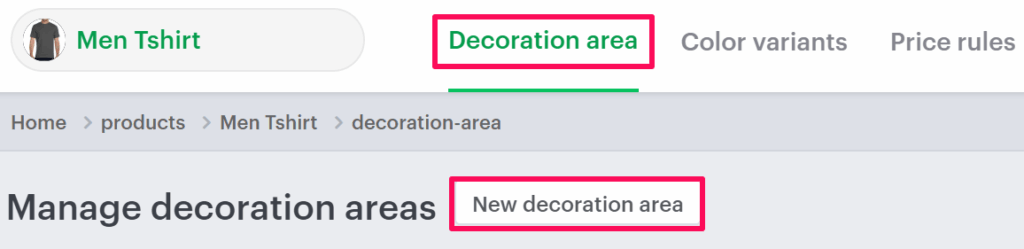
5. In the Decoration Area tab, click “New Decoration Area”
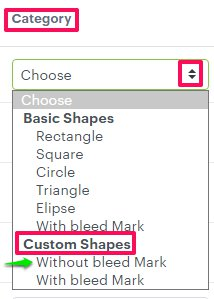
6. Under Category, open the dropdown and choose:
• Custom Shapes → Without Bleed Mark
7. Enter the required properties:
• Upload SVG Mask
• Name
• Width
• Height
8. Click the green tick icon to save.

You’ve successfully added a custom shape for the decoration area!
► After uploading the SVG mask, you need to assign it to the product.