
Steps to Enable the Engraved Surface
1. Open Impact Designer Admin.
2. Click “Print Method” in the navigation panel.

3. In the Print methods page, select your print method and click “Edit”

4. A new page will appear, scroll down to find Laser engrave settings and toggle the button of Enable laser engrave.

5. Click the dropdown that is below Engraved surface. The two options of engraving will appear:

- Metal – Selecting this option will auto-convert the color of text, uploaded image, clipart, etc., to a metallic color when it is added to the product.
- Custom – To show the realistic engraving preview for the different product surfaces like leather, stone, acrylic, etc., you can select the custom option.
You can configure custom engraving in two ways:
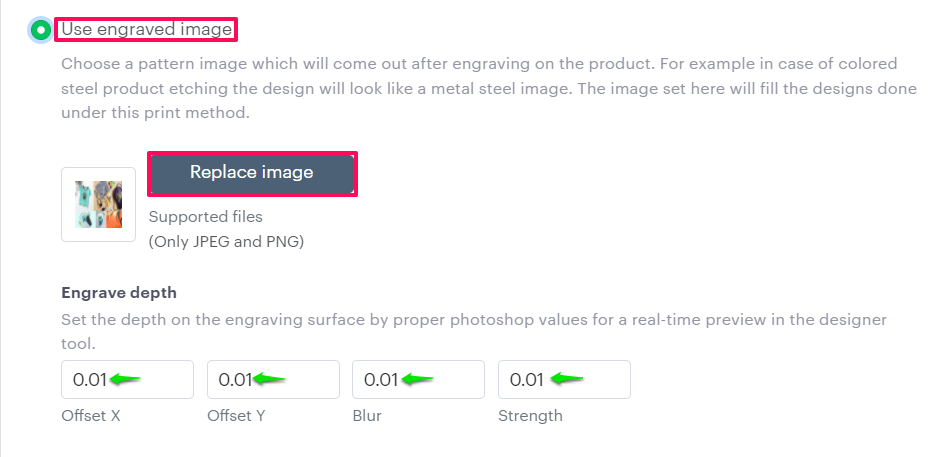
Use Engraved Image
– Selecting this option will fill the custom design that is added to the product with the image that is defined in this section. To show the real-time preview of engraving, you can set the values for Offset, Blur, and Strength.
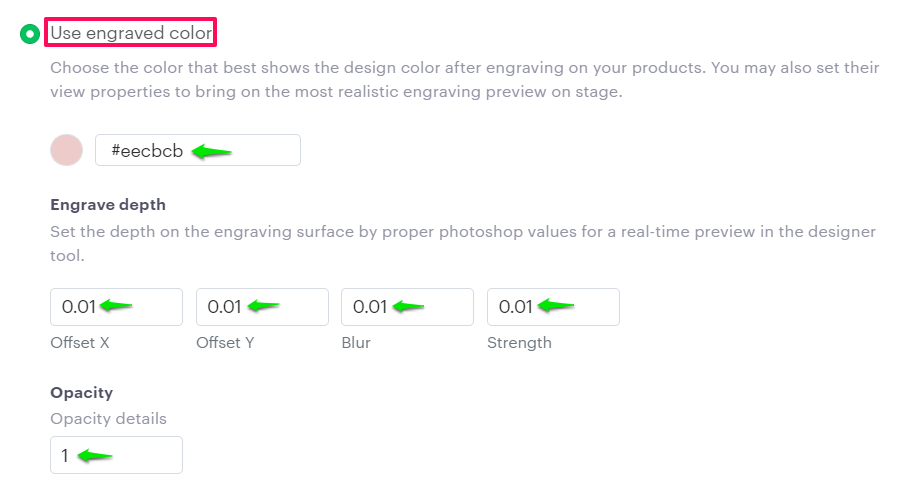
Use Engraved color
– Enabling this option will allow you to select the color from the color picker/manually enter the hex code of the color to set the engraving preview in the designer tool. To show the real-time preview of engraving, you can set the values for Offset, Blur, Strength, and Opacity.
6. Click “Save”
You have successfully enabled the engraved surface!