
Steps to Enable Bleed Mark in Order Files
1. Open Impact Designer Admin.
2. Click “Print Profile” in the navigation panel.

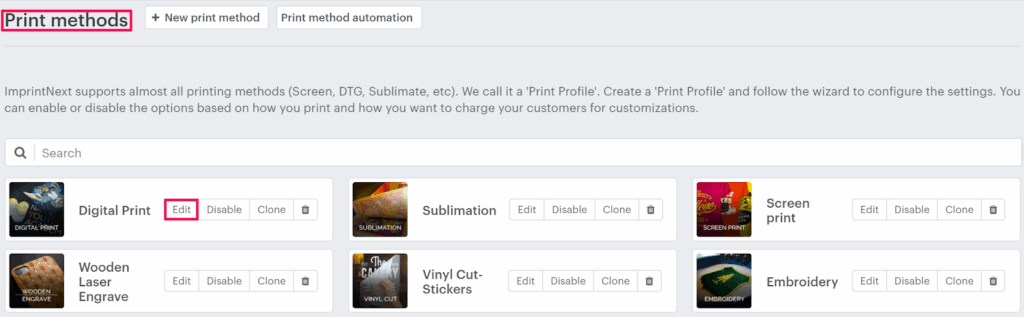
3. In the Print methods page, select your print method and click “Edit”
4. The Print method setting page will appear, and scroll down to find Order settings. Move to the right and select the checkbox for Bleed mark, and select your desired option for the print files.

5. Click “Save” or scroll down to the bottom and click “Save”.
You have successfully enabled the Bleed Mark option in the order files!
► Before enabling the bleed mark for order files, the bleed mark should be configured for the product. To know how to set the bleed mark, click here.