
Steps to Enable Auto Convert Design Colors
1. Open Impact Designer Admin.
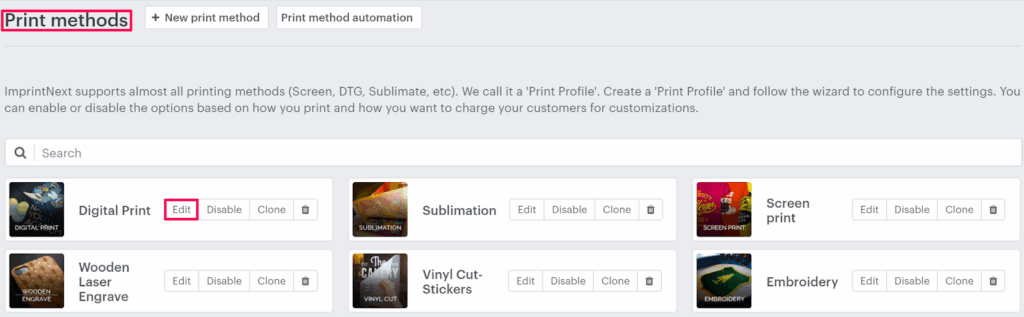
2. Click “Print Profile” in the navigation panel.

3. In the Print methods page, select your print method and click “Edit”.
4. The print method setting page will appear. In the Laser engrave settings, toggle the button of Enable laser engrave.
5. Select the Auto convert the design colors checkbox. Move to the right, click the dropdown, and select your desired option.

6. Click “Save” or scroll down to the bottom and click “Save”.
► The images uploaded by the customer will be auto-converted to black & white or grayscale, and the same will be added to the product.
You have enabled auto convert design colors for the print method!