
Steps to Add a Product in Shopify
1. Log in to your Shopify Admin.
2. Go to Products and select “Add Product.”

3. A new page will appear. Take the following actions there:
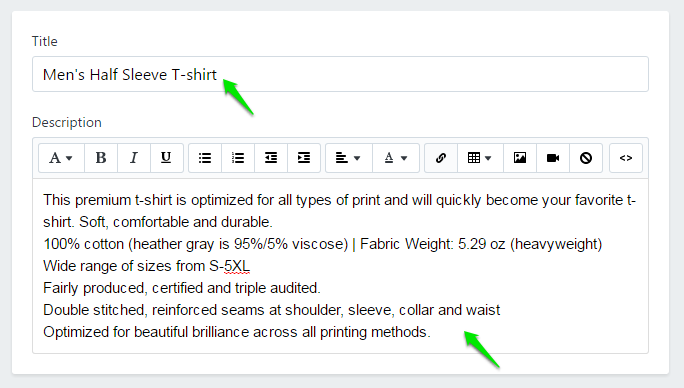
- Enter the title and description of your product.
- Scroll down to find Media and click “Add Media from URL” to upload a product image.

► Product images must be renamed as Size_Color_Side.png. For example, product images for large-sized blue t-shirts must be named as L_Blue_Front, L_Blue_Back, L_Blue_Left, and L_Blue_Right.
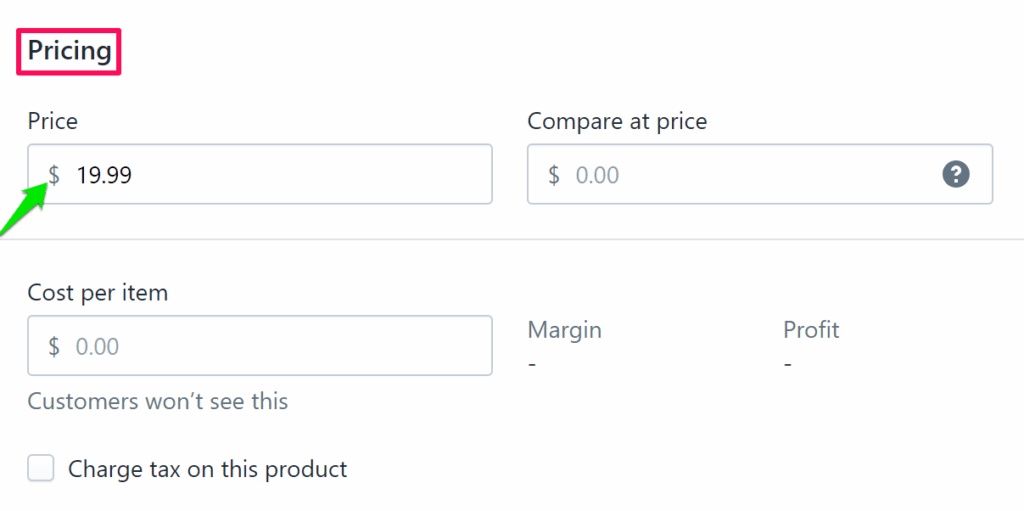
- Scroll down and go to Pricing to enter the price of your product.
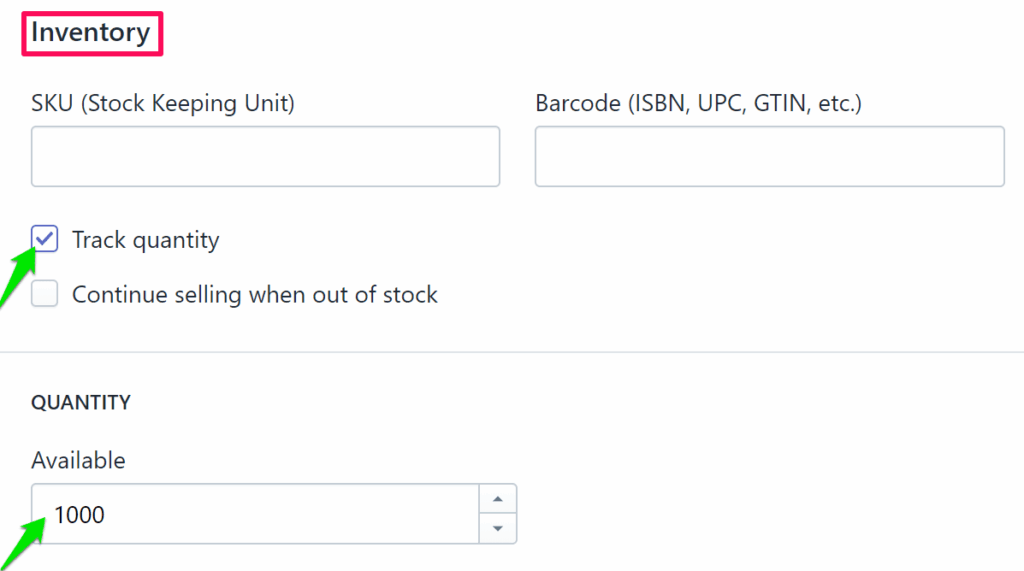
- Scroll down and go to Inventory. Enable the checkbox of Track Quantity and set the quantity.
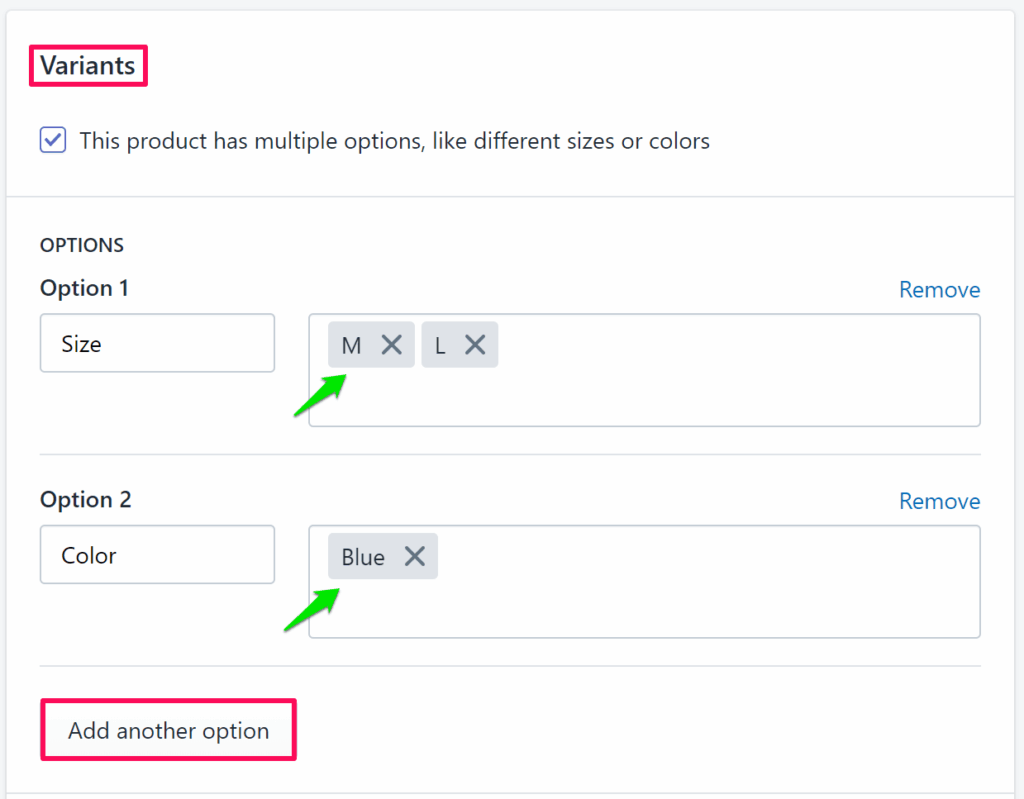
- Scroll down and go to Variants and select the checkbox.

- Enter size values. Click “Add Another Option” again to add color values.
- Add categories under Collections displayed on the right side. Also, select Show in Designer.
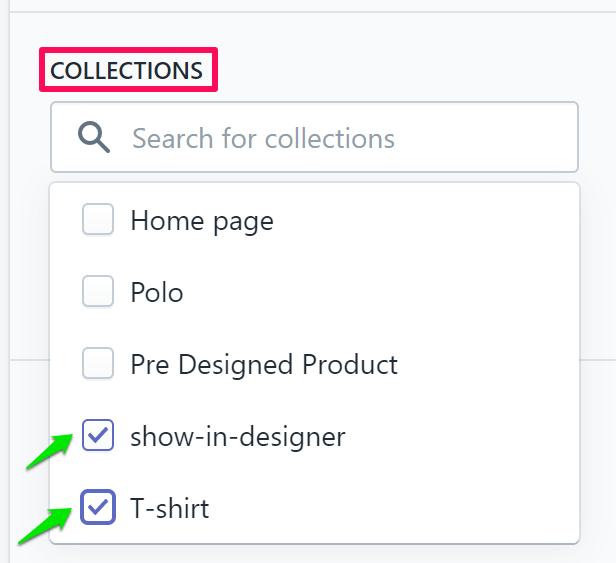
► “Show in Designer” makes the product customizable.
4. Click “Save” located in the top-right corner.
5. Scroll down to find Variants, and click on the thumbnail image of each variant and assign the product image to the variant.
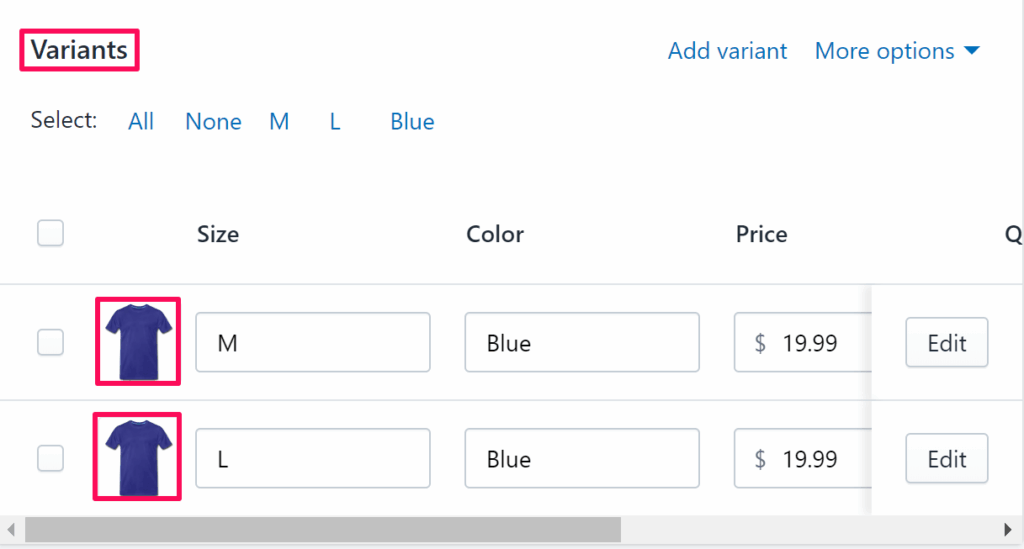
► For each of the variations created for the product, you need to set the quantity.
6. Click “Save.”
Your product has been added successfully!