
Before starting, make sure your server meets the Technical Requirements!
► You can check the requirements here.
Step 1: Upload and Unzip the Package
- Upload the Impact Designer installation package to your server’s root directory.
- Unzip the package using either:
• The unzip command via SSH, or
• Your server’s cPanel File Manager. - You should be able to access the Impact Designer installation link for your site, which will look similar to this: https://www.abc.com/impactdesigner/install
Step 2: Run the Installation Wizard
- Open the installation link in your browser
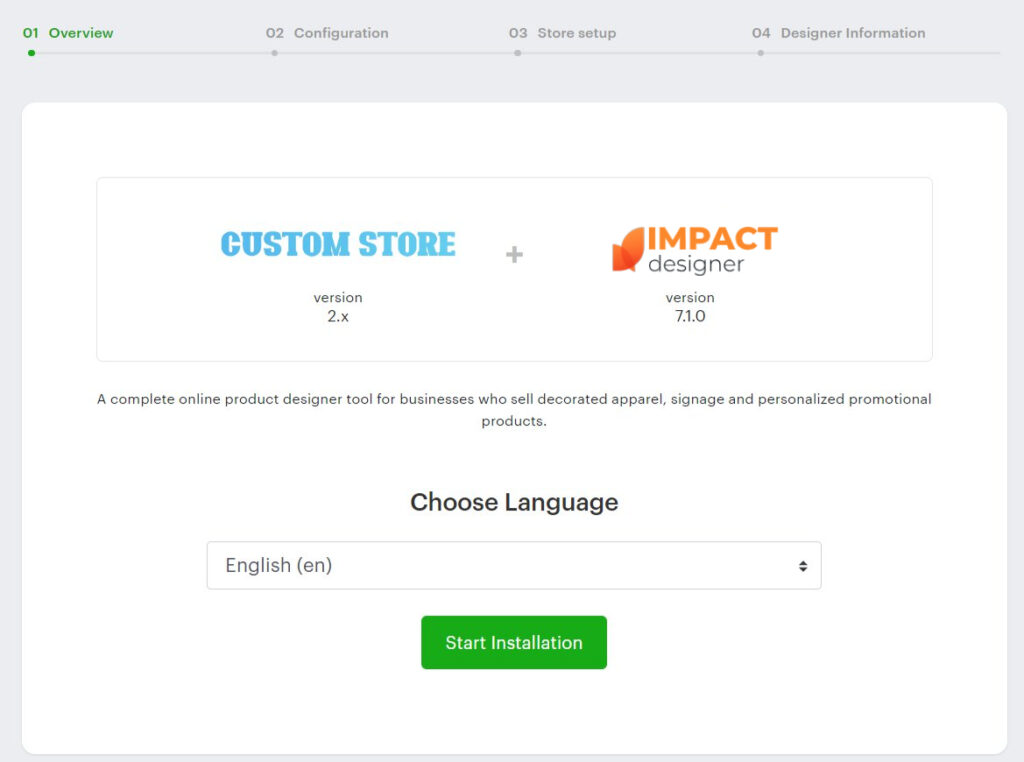
- The Installation Wizard will appear.
• Confirm your platform and Impact Designer version.
• Select your language, then click “Start Installation”.
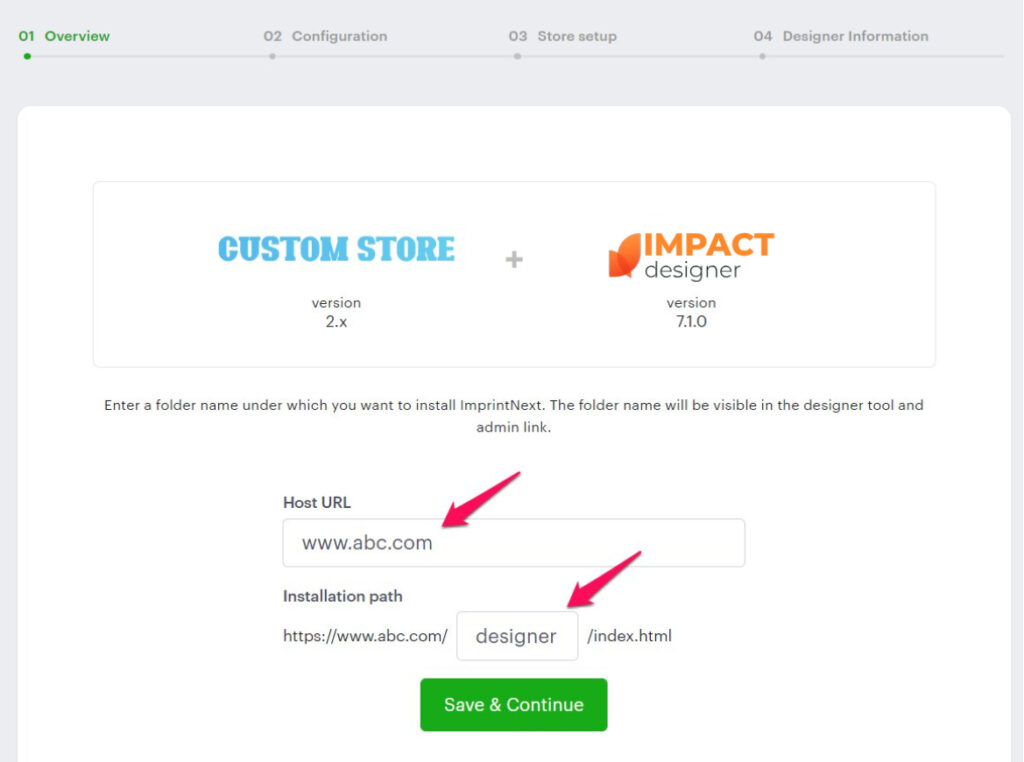
Step 3: Domain & Path Setup
- In the Host URL field, your domain name will be automatically filled in.
• The domain here must match your registered domain.
• If it doesn’t, the installation will not proceed to the next step. You’ll need to re-download the package for the correct domain. - In the Installation Path field, you’ll see the folder where Impact Designer will be installed.
• The Default folder name would be “designer”. - Click Save & Continue.
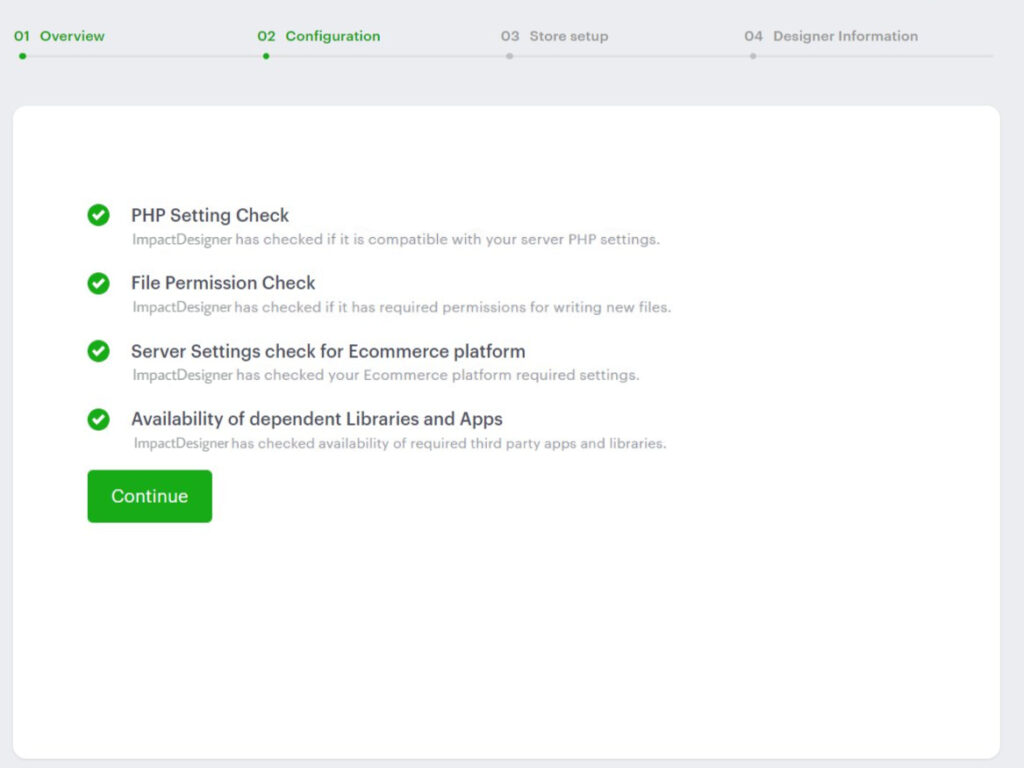
Step 4: Verify Server Configuration
- In the next step, the server configuration is verified.
• Missing requirements will show as a red cross.
• Follow the Impact Designer Server Requirements guide to fix them, and click Continue. - “Availability of dependent Libraries and Apps” checks whether ImageMagick, Inkscape, and Ghostscript are installed on your server.
• This is needed to generate print files in CMYK format. If you see a red cross mark here, you can continue to the next step since it’s optional.
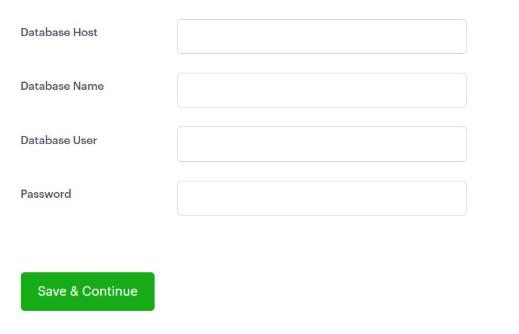
Step 5: Database Setup
- Enter your database details:
‣ Database Host
‣ Database Name
‣ Database User
‣ Password
► We recommend creating a separate database from your eCommerce store to ensure that future Impact Designer updates are not affected.
2. Click Save & Continue.
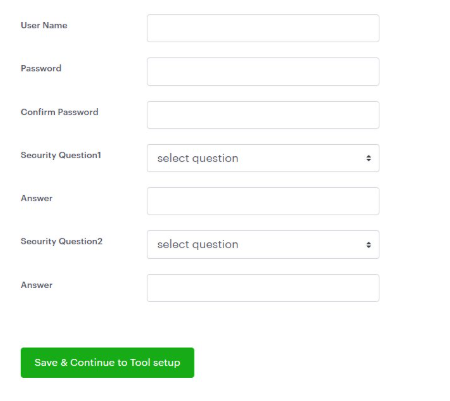
Step 6: Create Admin Credentials
- Set up your Impact Designer Admin login:
• Username
• Password (and confirmation)
• Security Question & Answer - Save these credentials, you’ll need them to log in later.
- Click Save & Continue.
Step 7: Complete Setup
- Click “Designer Admin” → Opens the Impact Designer Admin Dashboard (log in with your credentials).
- Click “Designer Tool” → Opens a product page with the Designer Tool ready to use.
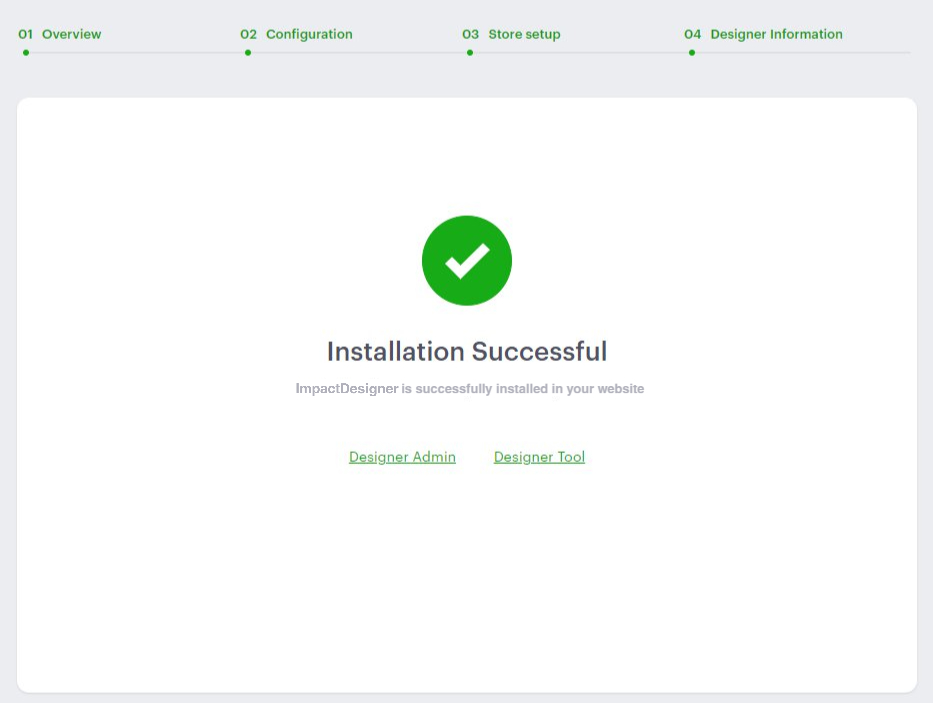
You’re now fully set up!