
Steps to Add a New Language in the Designer Tool
1. Open Impact Designer Admin.
2. Click “Global Settings” in the navigation panel.

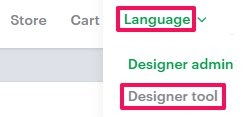
3. Click “Language” and select “Designer Tool.”
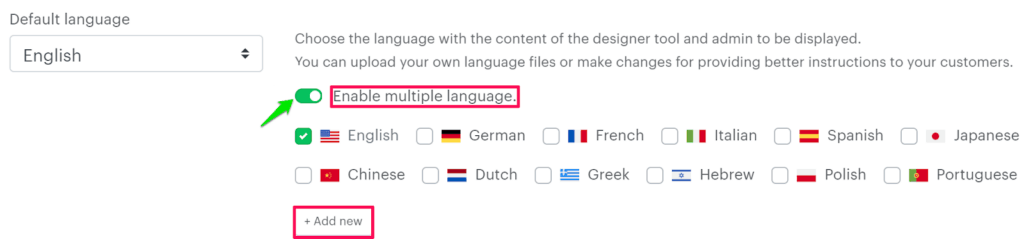
4. Move to the right, toggle the button to Enable Multiple Languages, and click “Add New.”
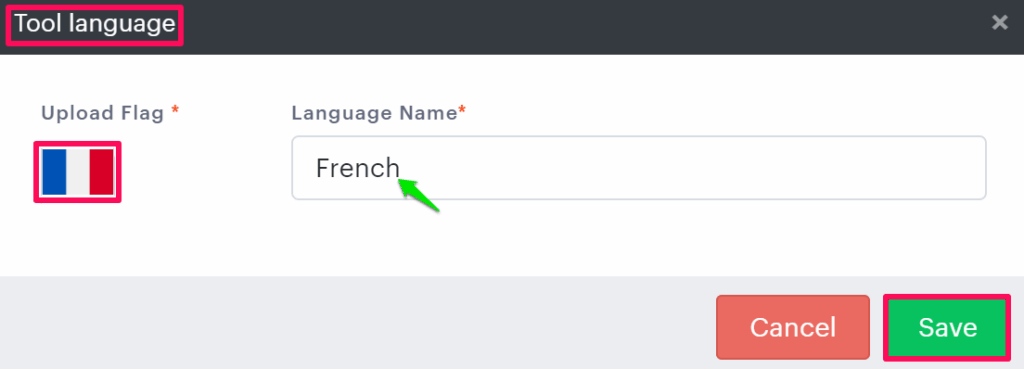
5. A pop-up named Tool Language appears. Click the box under Upload Flag to upload your country’s flag, enter the language name, and click “Save.”
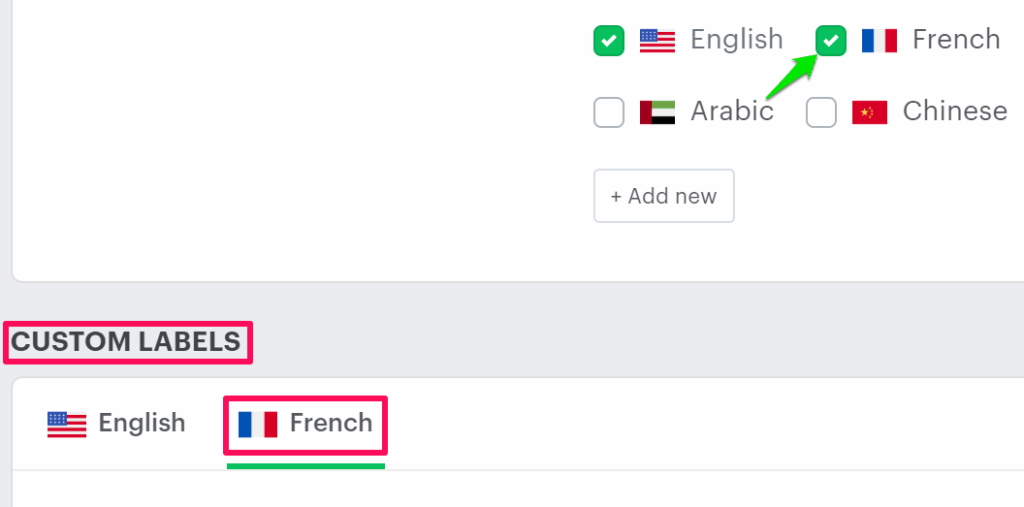
6. Enable the checkbox of the added language. A new tab will be created under the Custom Labels section.
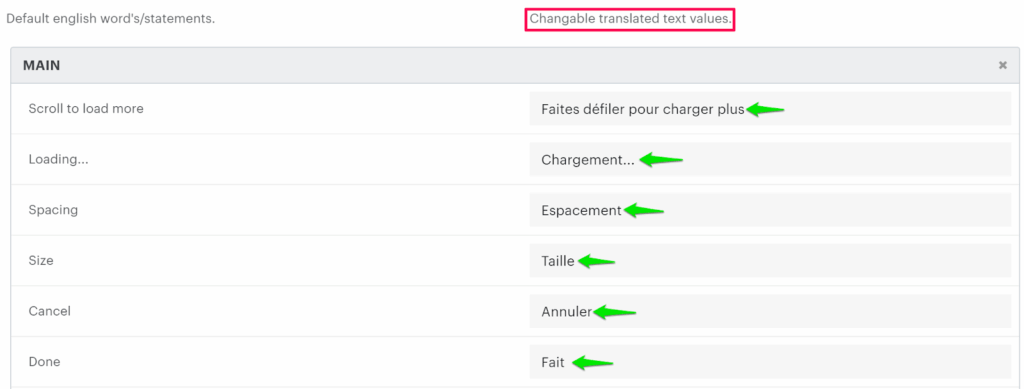
7. Click each module (like Main, Panel, Modules, etc.) and change your translated language in the column Changeable Translated Text Values.
8. Scroll down to the bottom and click “Save.”
► The left column is in the English language. By taking reference from it, you need to write your language in the right column.
You have successfully added a new language for the Designer Tool!