
You can add an instructional module in the Designer Tool to guide customers, especially new users, through customizing products and placing orders. Clicking the module opens a new tab or popup, showing steps like starting a design, adding text or images, changing colors, previewing, and adding the product to the cart.
Steps to Create a Dynamic Button
1. Open Impact Designer Admin.
2. Click “Global Settings” in the navigation panel.

3. Select the General tab.

4. Scroll down to find Enable/Disable Dynamic Button in Designer Tool and enable the toggle for Enable Dynamic Button in Designer Tool.

5. A form will open below where you need to Add Title, Upload Icon, Add Description, and Add Link.
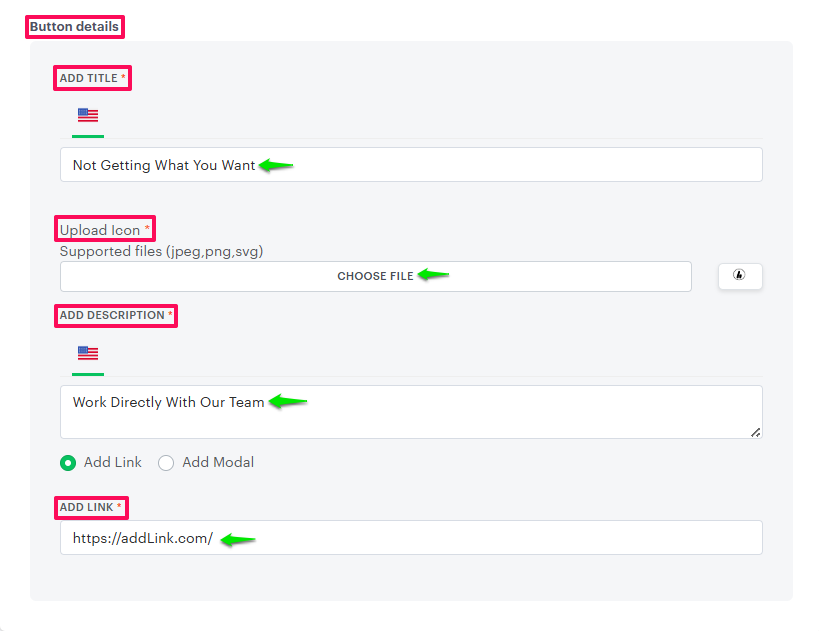
- Add Title:
This field allows you to define the name of the module. The title you enter here will be prominently displayed within the designer tool. Ensure the name is clear and relevant, as it helps users easily identify the purpose of the module. - Upload Icon:
In this section, you can upload an icon that visually represents the module. This icon will appear as a small thumbnail positioned before the module name in the designer tool. Supported file formats include JPEG, PNG, and SVG. - Add Description:
Here, you can provide an informative description of the module. This description helps users understand the purpose and functionality of the module. Including a clear context ensures that users can quickly grasp the module’s use without needing additional assistance. - Add Link:
This option allows you to associate a URL with the module. When users click on the module name in the designer tool, the specified link will open in a new browser tab or window. This feature is especially useful for directing users to external documentation or any other relevant resources related to the designer tool. - Add Modal:
In this section, you can configure a predefined modal containing additional information or descriptive content. When triggered, this modal will appear as a pop-up within the designer tool, displaying the details you’ve added. This feature is ideal for presenting additional content, instructions, or messages without requiring users to navigate away from the current screen, thereby providing a smoother and more seamless user experience in the designer studio.
6. Click “Save” to apply the changes.
You have successfully created a dynamic button in the designer tool!