
Steps to Add Variations to a Product in WooCommerce Admin
1. Log in to your WooCommerce Admin.
2. From the left toolbar, hover over Products and click “Add New”
► Before adding variations to the product, you need to assign attributes to it.
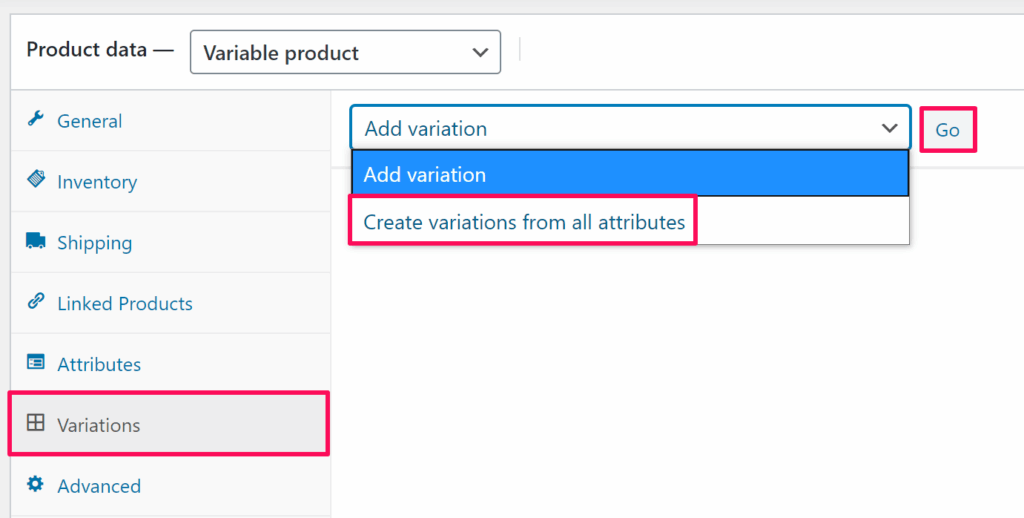
3. Scroll down to find the Product Options. Under Product Data, select the Variations tab.
4. From the dropdown, select Create variations from all attributes and click “Go”
5. All the variations will be created. Hover over the product variants and click on each one.
6. Tap on the image upload icon to set the product image.
7. Click “Add Additional Images” to provide other sides of the product.
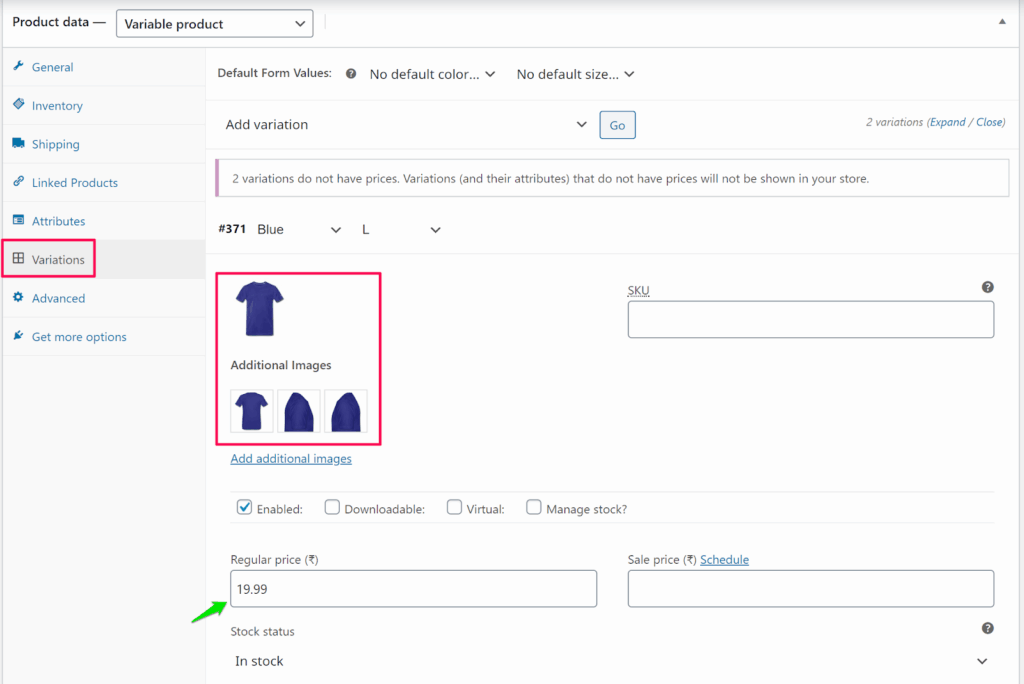
8. Enter Regular Price for each variant (other fields are optional).
► For each variation created for the product, you need to set product images and a regular price.
9. Click “Save Changes.”
► “Create variations from all attributes” will generate variant combinations automatically, while “Add variant” allows you to create variant combinations one by one.
You have successfully added product variations in WooCommerce Admin!