
Steps to Add a Product in WooCommerce
1. Log in to your WooCommerce Admin.
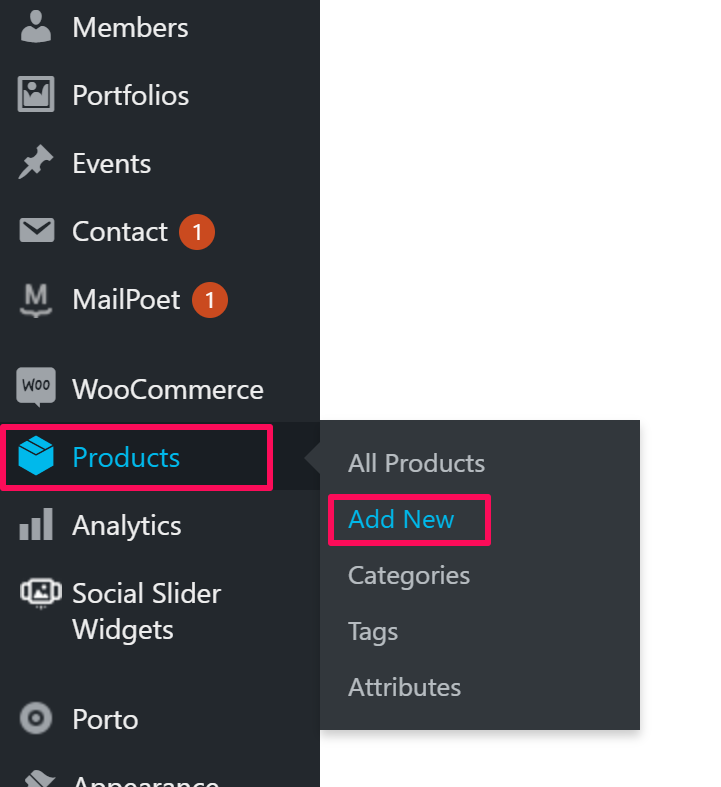
2. From the left toolbar, hover over Products and click “Add New.”
3. The Add New Product page will appear next to the toolbar. Take the following actions there:
- Give the Product Name and Description.
- Scroll below to find Product Data and select “Variable Product” from the dropdown.
- Go to Inventory, check “Manage Stock”, and enter Stock Qty.
- Go to Attributes and take the following actions there:
- Select Color from the dropdown and click “Add”. A box will appear, enter the color of the product, and check Used for Variations.
- Select Size from the dropdown and click “Add.” A box will appear, enter the size of the product, and check Used for Variations.
- Select xe_is_designer from the dropdown and click “Add”. A box will appear, enter 1, and uncheck the two checkboxes below.
- Tap “Save Attributes.”
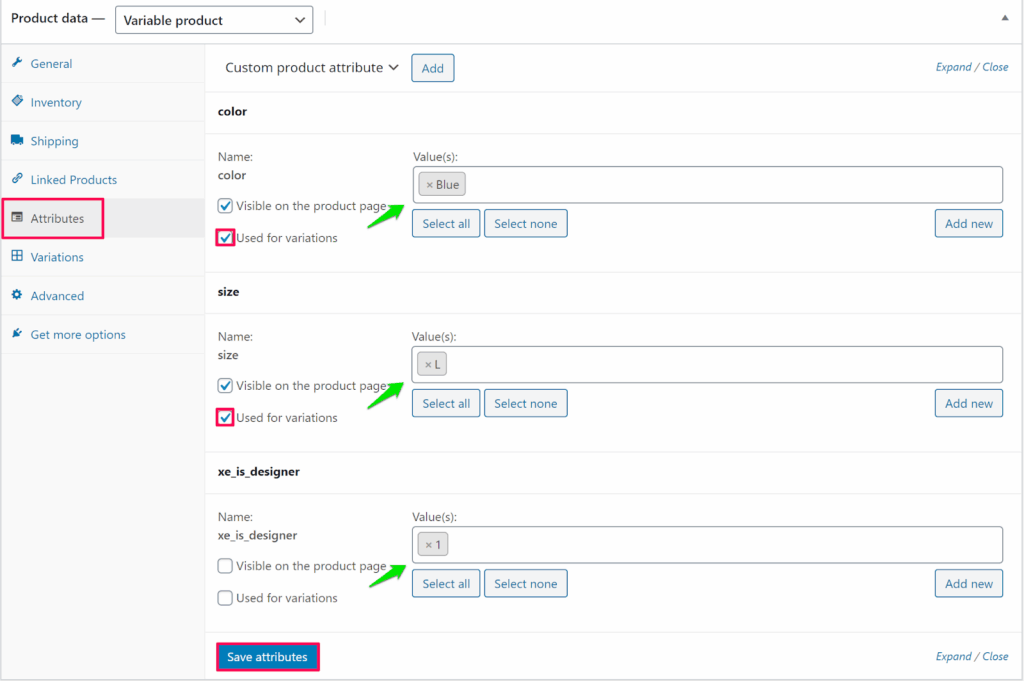
► To enable the Customize button for the product, you must assign the attribute xe_is_designer.
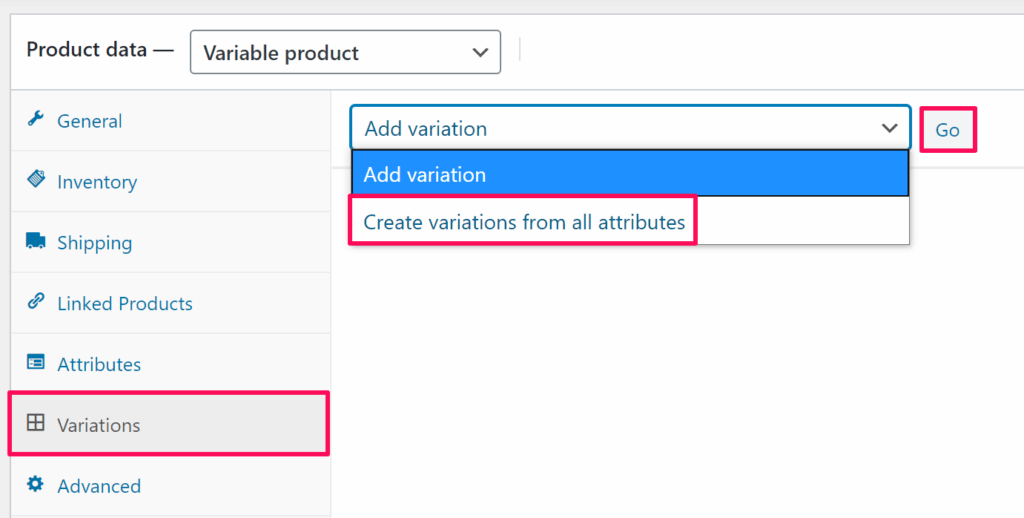
4. Go to Variations and select Create variations from all attributes from the dropdown. Click “Go.”
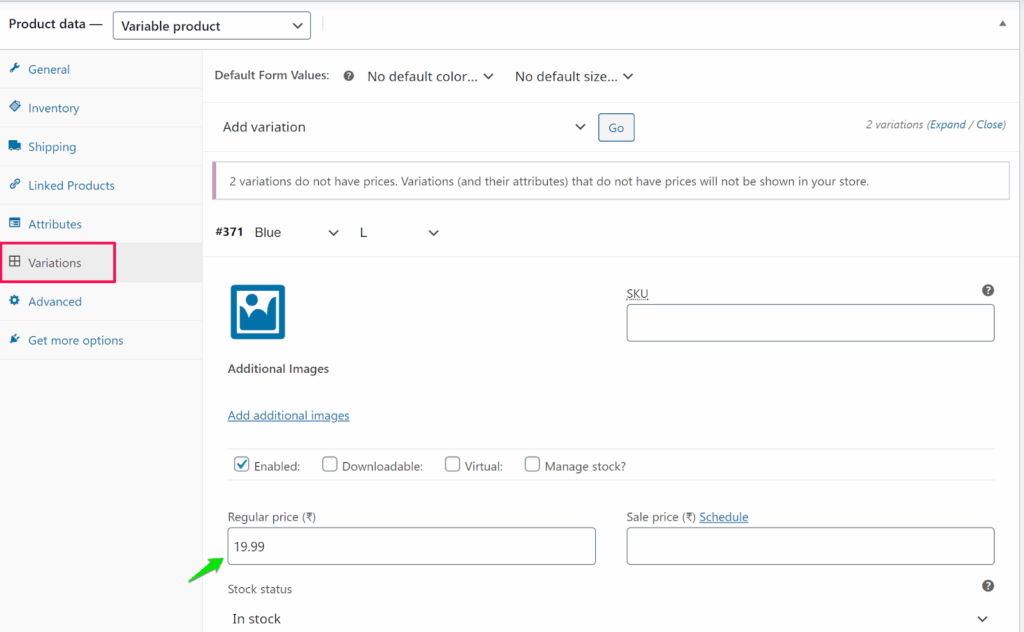
5. A box will appear. Hover over the product variants and click on it. Enter Regular Price for each variant (other fields are optional).
6. Assign a Category to the product.
7. Tap Set Product Image to upload the primary image of the product.
8. Click “Add Product Gallery Images” to upload different variation images of the product.
9. Click “Publish.”
You have successfully added the product to WooCommerce!
Since you don’t have images for different color variants of the product, you need to upload the product image in Impact Designer Admin.
To do that, follow the steps below:
► To create the transparent image for the product, click here.
1. Open Impact Designer Admin.
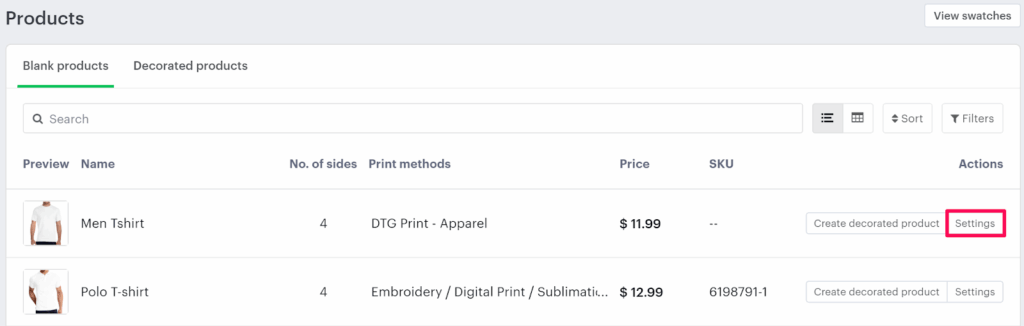
2. Click “Products” on the navigation panel.

3. The Products page will appear. Click “Settings”, which is below the Actions panel.
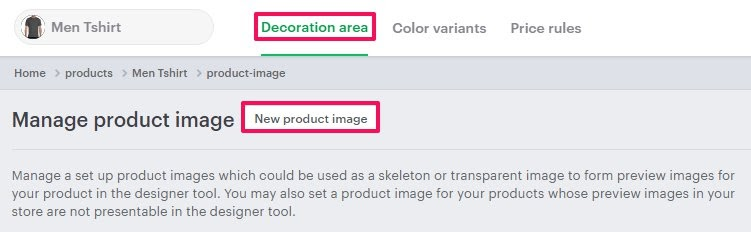
4. The Decoration Area Setting page will appear. In Imprint Image, from the section Define My Own Views, select “Manage.”

5. Under the Decoration Area tab, click “New Product Image.”
6. A pop-up box will open below. Enter the Product Image Name, upload the product image, and set the Side Name of the product. You can upload multiple sides of a product by clicking “Add Another.”
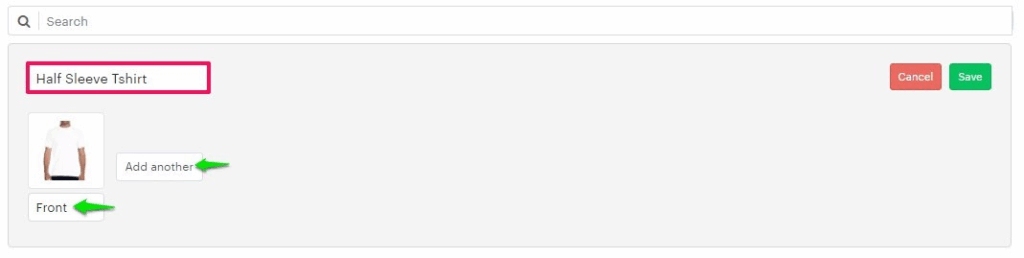
► Supported formats for product images are PNG, JPG, and JPEG.
7. Click “Save.”
► After adding the imprint image, you need to assign the product image to the product.
You have successfully added an imprint image of the product!