
Steps to Add a Template
1. Open Impact Designer Admin.
2. Click “Assets” in the navigation panel.

3. Click “Templates.”

4. On the Templates page, click “Add Template.”

5. You will be taken to the Designer Tool. Create your template and click “Save Template.”

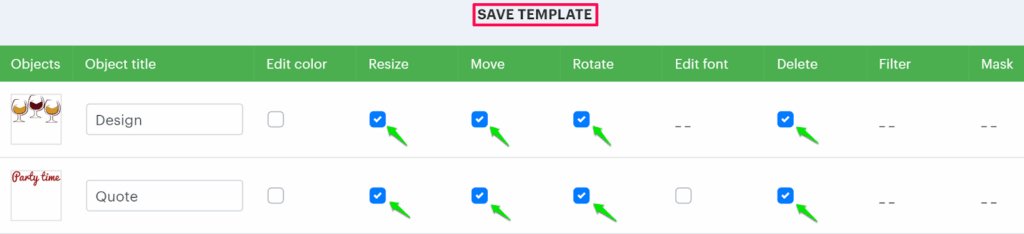
6. A Save Template pop-up will open. Here, perform the following actions:
► For each design element, enter the object title and enable the respective checkbox to lock the template properties such as Move, Resize, Rotate, Delete, etc.
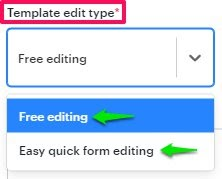
► Template Edit Type: The template can be saved in two different ways:
- Free editing: When customers use the template then they cannot edit the properties that are locked for that particular design. Apart from that customer can add other designs (clipart, text, etc).
- Easy quick from editing: When customers use the template, they can edit the design element from the edit template form.
► Set the properties of the template, such as Name, Category, Number of Colors, and Print Method.
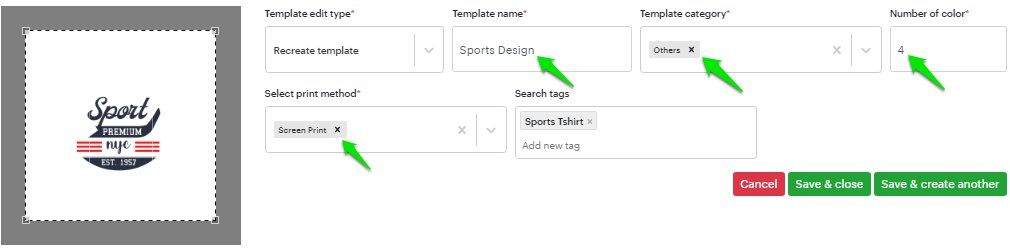
7. Click “Save & Close.”
► To create more templates, click “Save & Create Another.”
► After adding the template, you need to assign the template category to the print profile.