
► If you need to create a transparent product image first, click here.
Steps to Add an Imprint Image to a Product
1. Log in to Impact Designer Admin
2. In the left navigation panel, click “Products”.

3. On the Products page, click “Settings” (under the Actions panel for the product you want to edit).

4. The Decoration Area Settings page will open.
• In the Imprint Image section, under Define my own views, click “Manage”.

5. Go to the Decoration Area tab, then click “New Product Image”.

6. A pop-up will appear. Fill in the details:
• Product Image Name
• Upload Product Image (choose PNG, JPG, or JPEG format)
• Set the Side Name
• To add more sides, click “Add Another.”
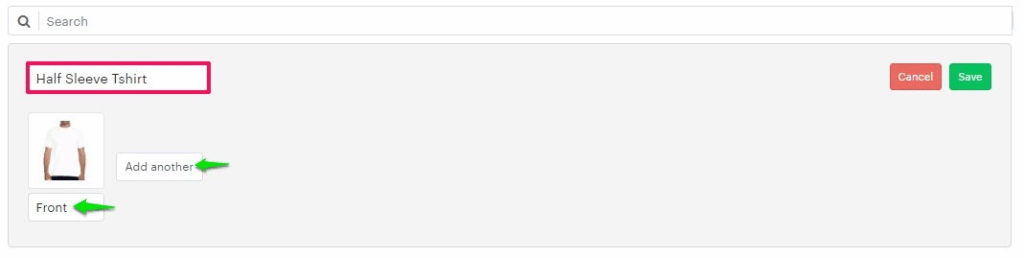
7. Click “Save”.
You’ve successfully added an imprint image for your product!
► After adding the imprint image, assign the product image to the product.