
Before you begin, make sure your server meets the Technical Requirements!
► You can check the requirements here.
Step 1: Upload the Package
- Upload the package to your server at a root directory that points to a subdomain (recommended) or any domain.
- Unzip the package in the server using the unzip command through SSH or with the help of your server’s Panel file manager.
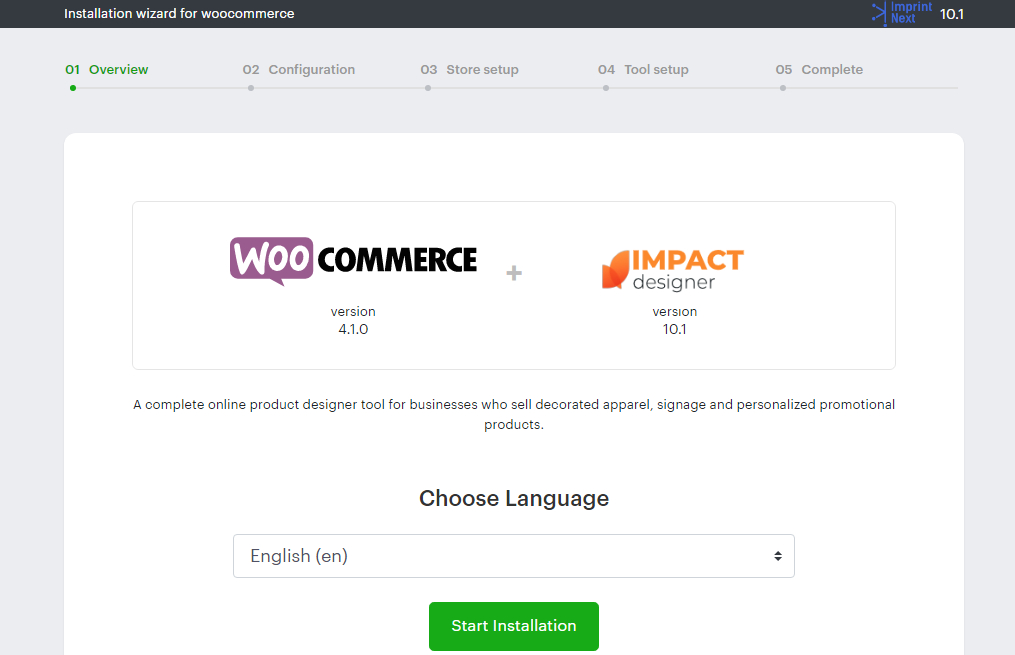
Step 2: Run the Installation Wizard
- Open the installation link in your browser.
Example: https://www.abc.com/impactdesigner/install - The Installation Wizard will open.
• Confirm your E-Commerce platform and Impact Designer version.
• Select your language and click “Start Installation”.
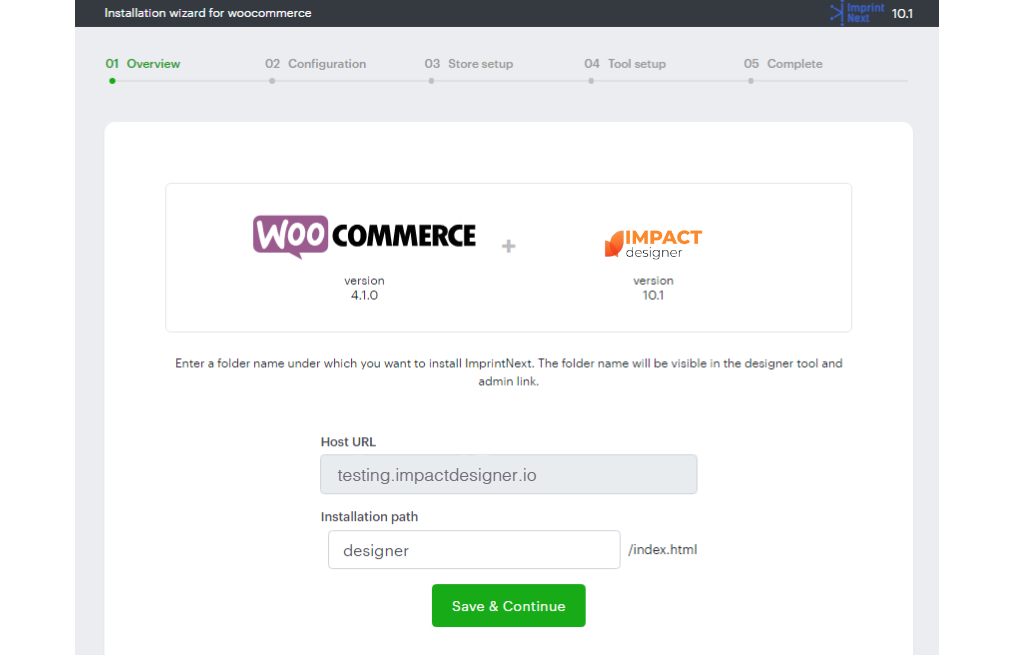
Step 3: Domain & Path Setup
- In the Host URL field, your domain will populate.
• The domain name in the Host URL must match your registered website domain. If it doesn’t, the installation will not proceed to the next step, and you’ll need to re-download the package for the correct domain. - In the Installation Path field, you’ll see the folder where Impact Designer is installed.
• The default folder name would be “Designer”. - Click Save & Continue.
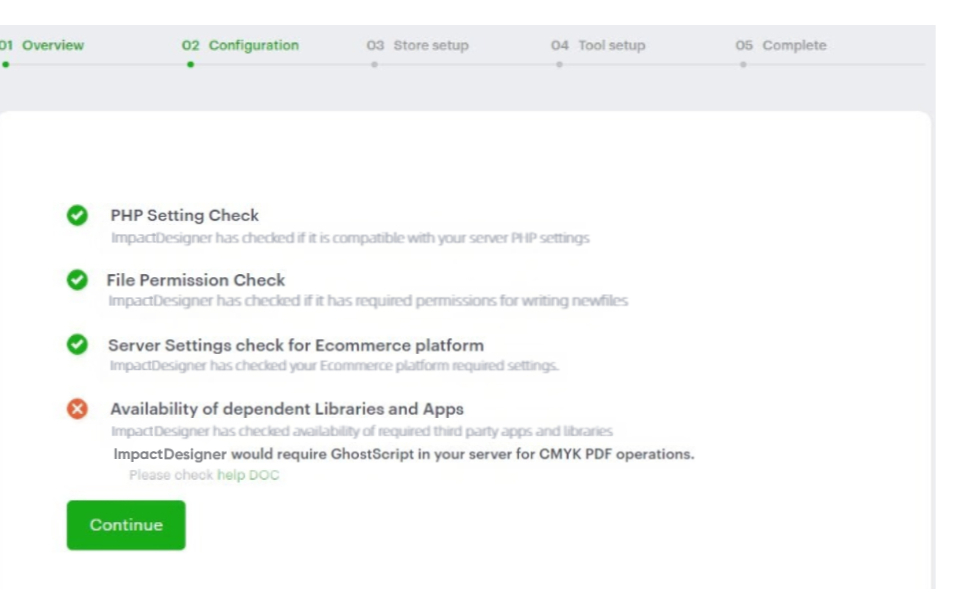
Step 4: Verify Server Configuration
- In the next step, the server configuration is verified.
• Missing requirements will show as a red cross.
• Follow the Impact Designer Requirements to fix issues. - “Availability of dependent Libraries and Apps” checks whether ImageMagick, Inkscape, and Ghostscript are installed on your server.
• This is needed to generate print files in CMYK format. If you see a red cross mark here, you can continue to the next step since it’s optional. - Click Continue.
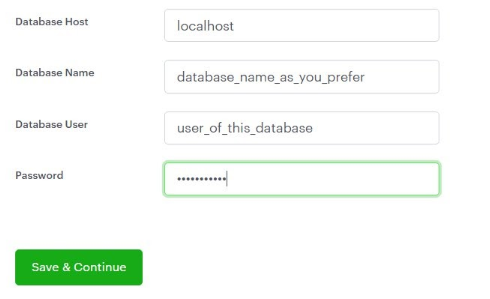
Step 5: Database Setup
- Enter your database details:
‣ Database Host
‣ Database Name
‣ Database User
‣ Password
► We recommend setting up a separate database for WooCommerce and Impact Designer to ensure that future Impact Designer updates remain unaffected
2. Click Save & Continue.
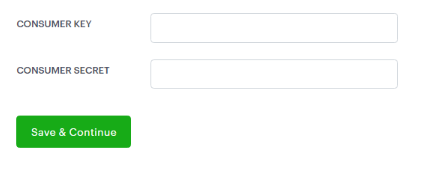
Step 6: WooCommerce Integration
- Enter the required details to integrate Impact Designer with your WooCommerce store.
- Generate and enter your Consumer Key and Consumer Secret from WooCommerce.
• Follow this Guide for creating API credentials. - Click Save & Continue.
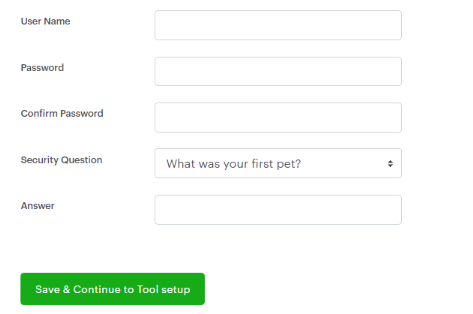
Step 7: Admin Credentials
- Create your Impact Designer Admin login:
• Username
• Password (and confirmation)
• Security Question & Answer - Save these credentials, you’ll need them to log in later.
- Click Save & Continue.
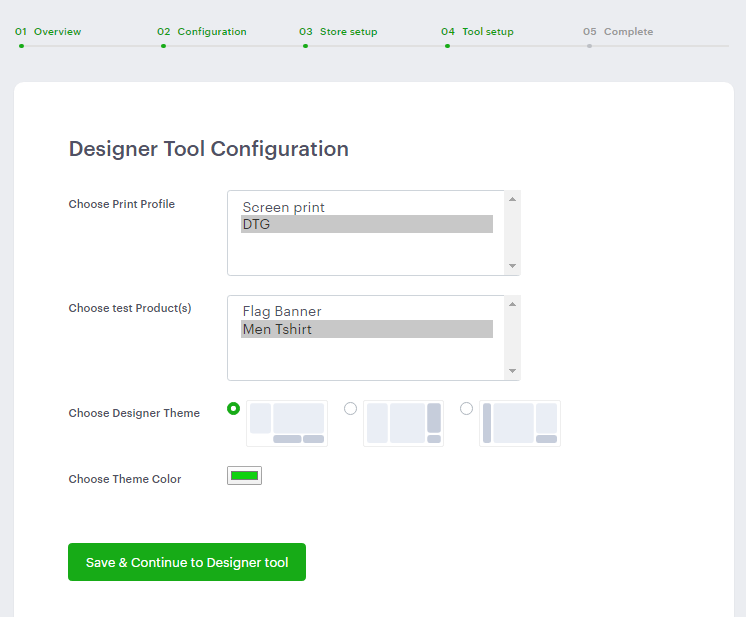
Step 8: Tool Setup
- Configure your Designer Tool settings:
• Print Profile – select your printing method.
• Test Products – choose demo products to link.
• Designer Theme – click on the green color box to pick a layout and theme color. (This can be changed later in Admin.) - Click Save & Continue.
Step 9: Final Setup
- Click Designer Admin → opens the Impact Designer Admin Dashboard (log in with your credentials).
- Click Designer Tool → opens a product page with a “Customize” button. Clicking it will launch the Designer Tool.

► There would be a few changes needed in WooCommerce themes. You can refer to the guidelines, or you can contact us, and we will take care of it.
You’ve now successfully installed Impact Designer on your WooCommerce store!